Showing posts with label simple. Show all posts

Tuesday, September 19, 2017

Tailoring: Simple Stripe Seam Match-Up

I covered this topic in a previous post, but anyways, here it is again!

I bought this green sweater at the thrift store. I love the colors, but it was a bit big across the bust. No problem. Usually, I try a shirt/sweater on, look in a mirror, and pinch around the excess to see how much I need to take something in. I did that for this sweater, however, I needed to do an extra step if I wanted the stripes to match up.


Okay, this really only works if the garment you are tailoring has stripes that ALREADY match up, or almost match up, at the seams. If the stripes are way off to begin with, trying to force them to match up will result in a bunched up mess.

Also, I know I usually tailor things around the armpit: the sleeve and the bust area. That's how I'm built. This may not be where you need to tailor. Maybe you have smaller hips and a larger bust. So for you, you would pin around the hip area. Same principle, just a different area. You can do this anywhere you need to.

So here is how you do it. First put a pin at the edge of the stripe from the top layer down into the bottom layer.


Now, lift up the seam and see if the pin is sticking through the edge of the stripe on the other side. This one magically was, so I didn't need to adjust anything.


Then, with the seam lifted, stick the pin back into the bottom layer and through to the top following the same stripe, like this.


Now flip the seam back down and. . .See?! A problem! See how the pin is coming up through the stripe instead of at the edge of the stripe? How to fix: Pick up JUST the top layer off the point of the pin. . .


And gently adjust it so that the pin is now sticking through at the edge of the stripe.


Here are a series of pins from the top. . .


And here are the same pins from the other side. They all match up perfectly from both sides.


Then, sew over the pins. Don't pull them out until you actually sew over each pin. Keep those stripes held in place until the last possible second!


Ta da! You can see a slight discrepancy near the armpit, but. . .who's gonna look that close? Only a very creepy weirdo with no life. 
Looks good enough in my book! You're done. Now, go work on your next project!


The End!


Friday, November 18, 2016

Upcycled Christmas Decoration: Clear Industrial Tube Light...Thing

All right, Guys...This one isn't necessary a DIY for the masses, but maybe it'll give you an idea!

So, remember when I got those awesome tables and cabinet for my craft room? (Click here if you need a refresher.) Well, I didn't tell you at the time, but I also grabbed this weird, clear industrial cylindrical thing off the trailer as well. It is from Duke Power, so who knows what it is actually used for! (If Shirley Coley reads this, maybe she can ask Eddy what it is actually for!)

Anyways, as soon as I saw it, I knew I could turn it into a Christmas decoration!


The first step was to remove the paper.


Then, I wiped it down to get all the dust off.


Okay, so basically, I was just going to stick Christmas lights into it and call it a day. You really don't have to read any more, because that's exactly what I did! 

Anyways, there is one important step that you shouldn't miss in the off chance you find one of these cylinders and are dying to make one yourself!

So, first of all, I looked at both ends and found that there was a little broken notch on one end. That was perfect. That was where the electrical chord would come out at the bottom.


Then, took a piece of brown foam and put the tube upright onto it. The cylinder's weight created a circular depression, so I put glue just inside that line. Notice, that I didn't glue all the way around. This is because I would need to fish the wall plug through this opening. 

(This foam was to protect the floor from scratches when I put it onto the hardwood in the living room.
Precautions like this one help a person stay married.)


Here you can see that I put the notch in the center of the un-glued part.


Then, I stood it up on a flat surface and let it dry for a few minutes.


Then, I fed the light strand down into the tube, laid the tube on its side and fished the plug out the opening in the circle. When I sat it back upright, I made sure that the chord was resting in the notch. (Incidentally, they are LED lights.)


So then, I carried it to its destination (the living room, beside the fire place) and plugged it in. I fed a few more lights into the tube but kept about 1/3 of the lights hanging out.


With 1/3 of the lights still hanging out, I got a plastic butter knife and hung the remaining 1/3 over it. Then, I fed the 1/3 into the tube. (The butter knife kept the lights from falling all the way into the tube.)


The finished project. Pretty unique and minimalist, wouldn't you say?


Do you like our Charlie Brown tree? This is about as Christmas-y as I get!


What weird household items do you have laying around that you can repurpose?


The End!!!


Friday, February 26, 2016

Refashioning: Fixing a Neckline

I'm pretty sure I've blogged about ways to take up necklines that are too low, but I can't seem to find them. . .Anyways, here is another way.

You might think that to shorten a neckline, you would have to either add a panel of fabric to the lowest part (too homeschool-looking), or take up the shoulder seam (which can alter the shirt too significantly). Both of those would work, but I did something different.

Look at the picture below. I like the style of the shirt, but my chest is a lot higher than the person for whom this shirt was evidently made.


You can really tell it in this picture where the "V" drops almost between the two breasts. I don't like having to wear tank tops under things like this, so I decided to fix the problem.


Disclaimer: if your arms are very wide, you may not be able to do this fix, because it does shorten the arm hole. I have scrawny arms, so it works for me.


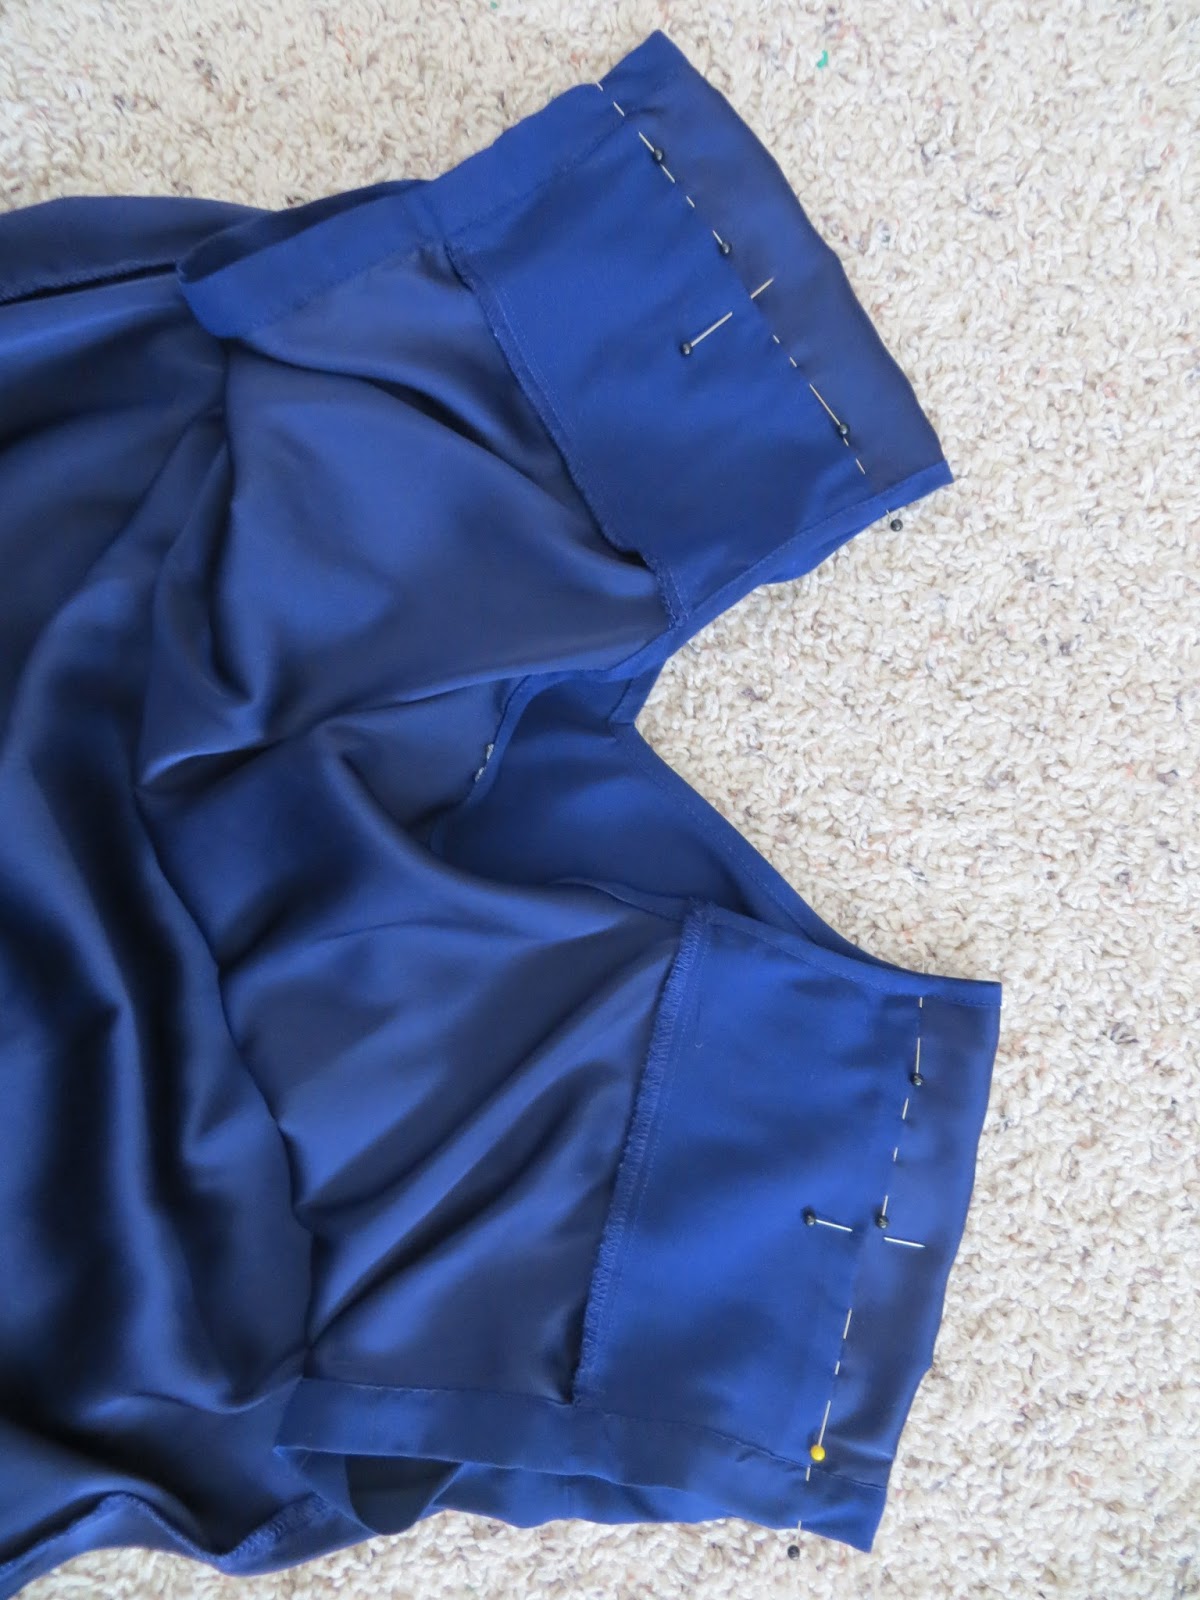
The first thing I did was to put the shirt on my dress form inside out. Then I pinched about 3/4" from the "epaulette seam." (I don't know what to call this seam. It's not the shoulder seam because that is on the top of the shoulders. . .It's not really epaulettes, but. . .You get the idea from the picture.)


Okay, one thing to remember about this is that the top portion is going to be shorter than the bottom portion. See those vertical pins? I had to put a little pleat in the bottom portion in order for the top and bottom to meet flush. You know what. . .look at the next picture. . .


It's a lot easier to see what I'm talking about from the other side here. See those pleats running vertically from the shoulders down? The bottom portion is wider, so it needed little pleats, which is great, because that look is in style.


Then, all I did was to use a straight stitch and stitch up my pinched folds.


I could have ended here, but the sleeve looks kinda funny and I wanted it to lie flat.


So, I top-stitched the seams I made.


Then, with pinking shears, I cut off the excess from the inside.


Here, I put the new alterations next to the original pictures so you could see the difference. 


 You never knew a fix could be that simple, did you!?


The End!


Saturday, July 25, 2015

Refashioning: Capris into Ankle Pants

I got these awesome yellow capris from my friend, Sandy, but. . .and I'm not sure you can tell in the picture, but the left leg was just a hair tighter than the right leg (maybe it's not the pants, but maybe my legs are different sizes!) and I knew that would bother me if I wore them anywhere. They just made a rule at my work that we can no longer wear capris, but we can wear ankle pants. (Also, capris kind of make me look like a hobbit sometimes because my ankles are thin, but my calves are HUGE.)
(See picture for all these details.)


Therefore, I was determined to turn these into ankle pants. First, I cut the cuff seam and lowered the cuff. (See picture below.)


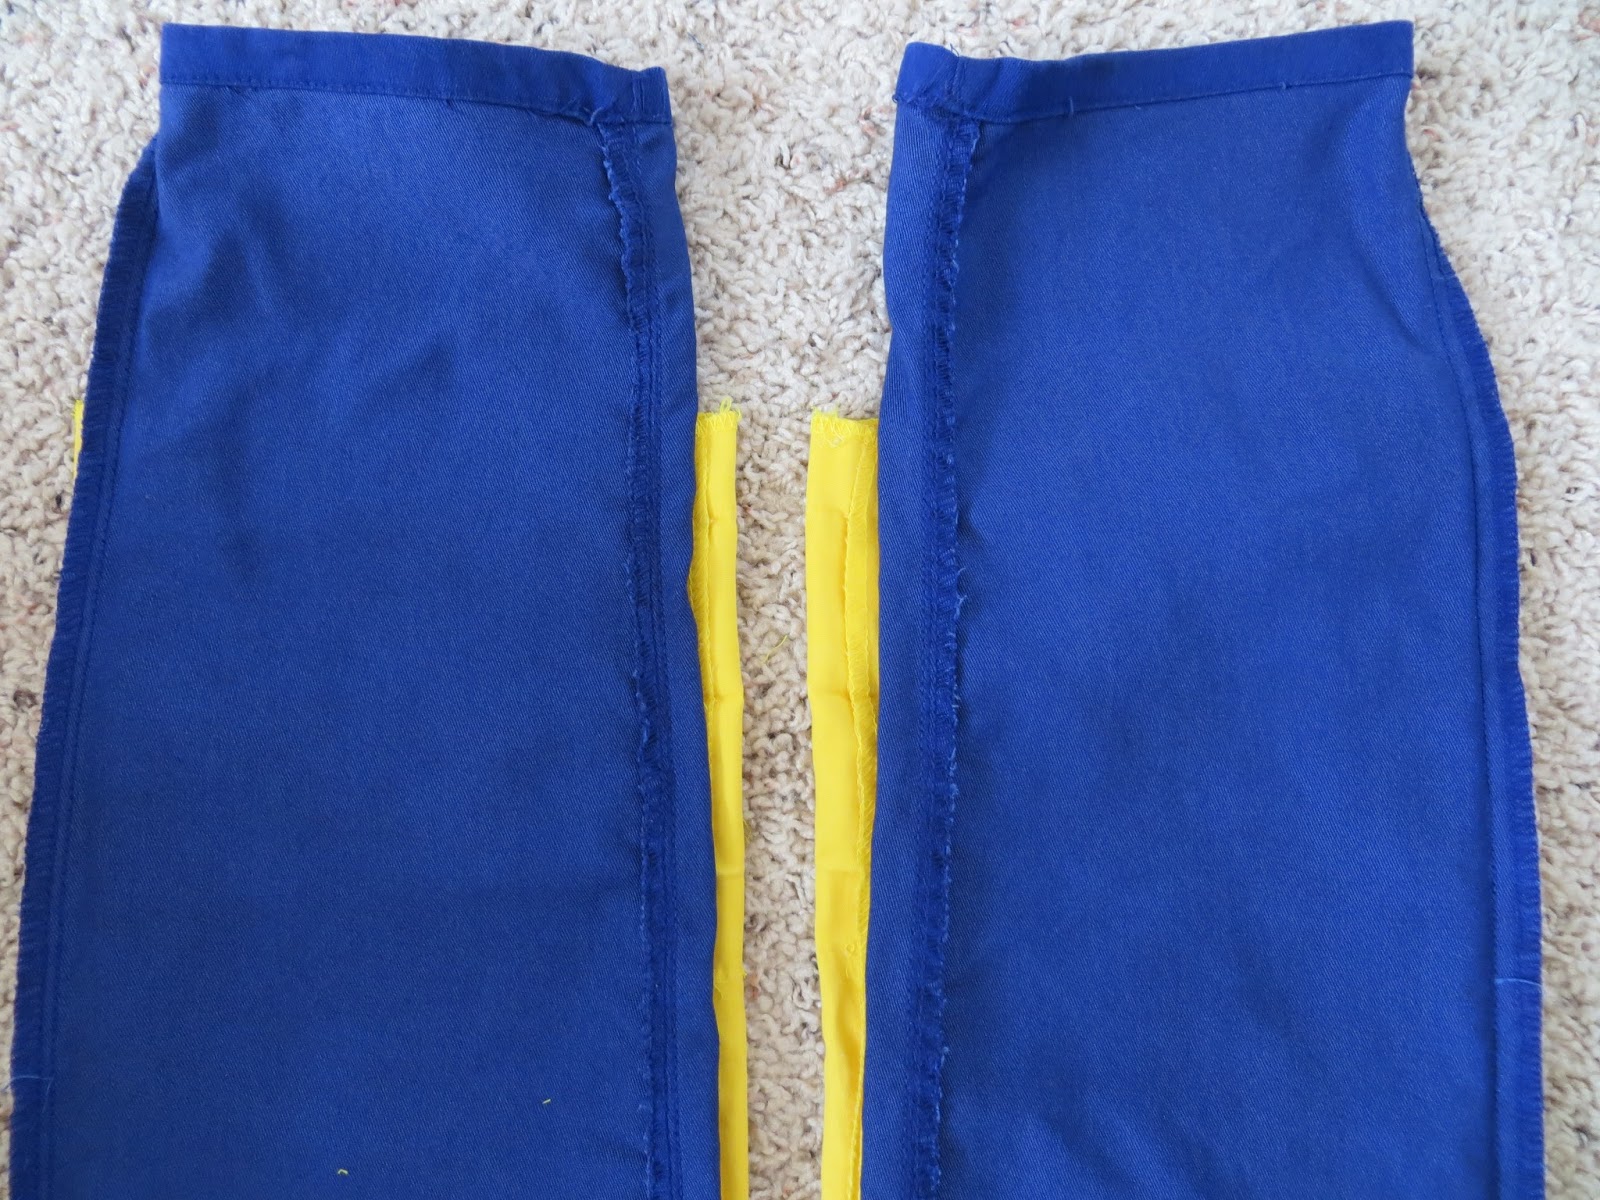
Then, I cut the entire bottom hems out and unfolded them.


Then, I laid some skinny pants on top of them to get an idea of how much to narrow the calves. You can see that the one on the right sticks out a bit more.


I pinned both sides of each calf so that they were the same size before stitching.


Then, I sewed a straight stitch along the bottom hems. (I know I should have done a blind stitch, but. . .I didn't feel like it.)


Then, I ironed them.


Not too shabby.


The End!