I'm pretty sure I've blogged about ways to take up necklines that are too low, but I can't seem to find them. . .Anyways, here is another way.
You might think that to shorten a neckline, you would have to either add a panel of fabric to the lowest part (too homeschool-looking), or take up the shoulder seam (which can alter the shirt too significantly). Both of those would work, but I did something different.
Look at the picture below. I like the style of the shirt, but my chest is a lot higher than the person for whom this shirt was evidently made.

You can really tell it in this picture where the "V" drops almost between the two breasts. I don't like having to wear tank tops under things like this, so I decided to fix the problem.

Disclaimer: if your arms are very wide, you may not be able to do this fix, because it does shorten the arm hole. I have scrawny arms, so it works for me.
The first thing I did was to put the shirt on my dress form inside out. Then I pinched about 3/4" from the "epaulette seam." (I don't know what to call this seam. It's not the shoulder seam because that is on the top of the shoulders. . .It's not really epaulettes, but. . .You get the idea from the picture.)

Okay, one thing to remember about this is that the top portion is going to be shorter than the bottom portion. See those vertical pins? I had to put a little pleat in the bottom portion in order for the top and bottom to meet flush. You know what. . .look at the next picture. . .
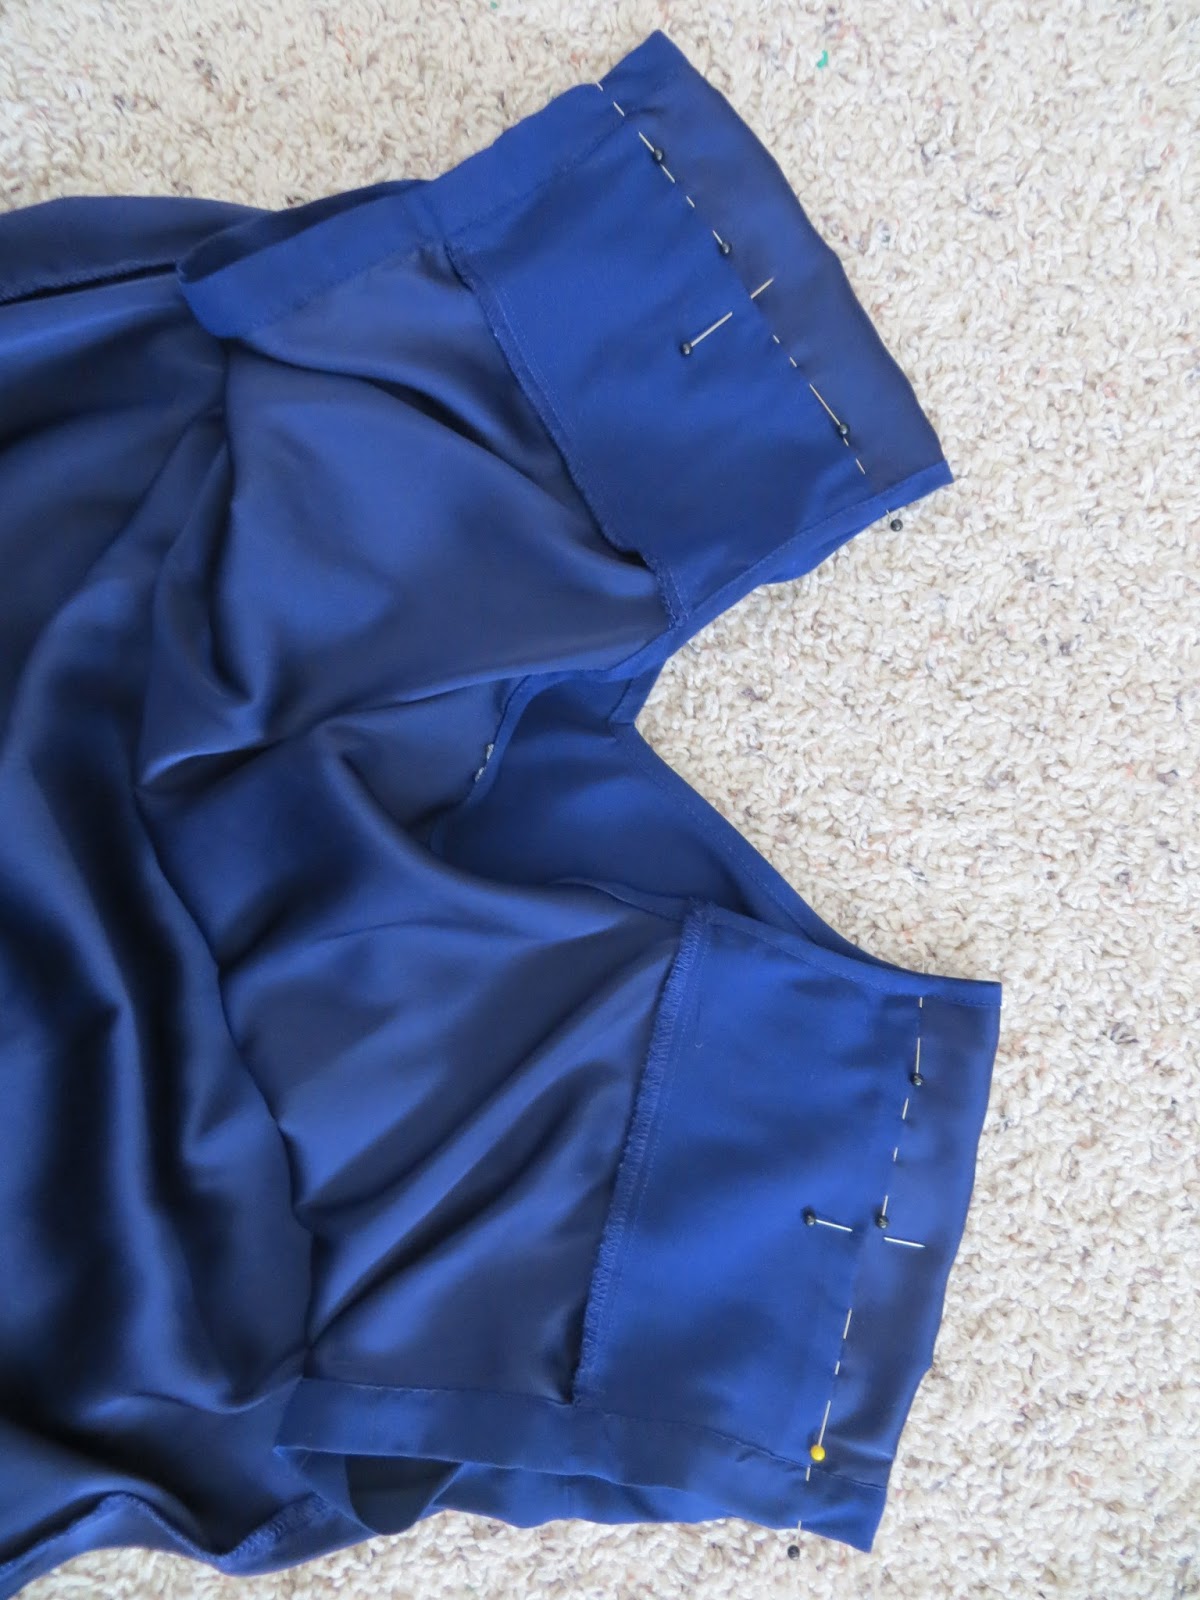
It's a lot easier to see what I'm talking about from the other side here. See those pleats running vertically from the shoulders down? The bottom portion is wider, so it needed little pleats, which is great, because that look is in style.

Then, all I did was to use a straight stitch and stitch up my pinched folds.

I could have ended here, but the sleeve looks kinda funny and I wanted it to lie flat.

So, I top-stitched the seams I made.

Then, with pinking shears, I cut off the excess from the inside.

Here, I put the new alterations next to the original pictures so you could see the difference.

You never knew a fix could be that simple, did you!?

The End!
No comments:
Post a Comment