Showing posts with label alter. Show all posts

Tuesday, December 6, 2016

Refashioning: Altering a Trench Coat

If you know me, you know that I shop at the Goodwill dollar rack on Thursday mornings. The other week, I found the best thing ever:


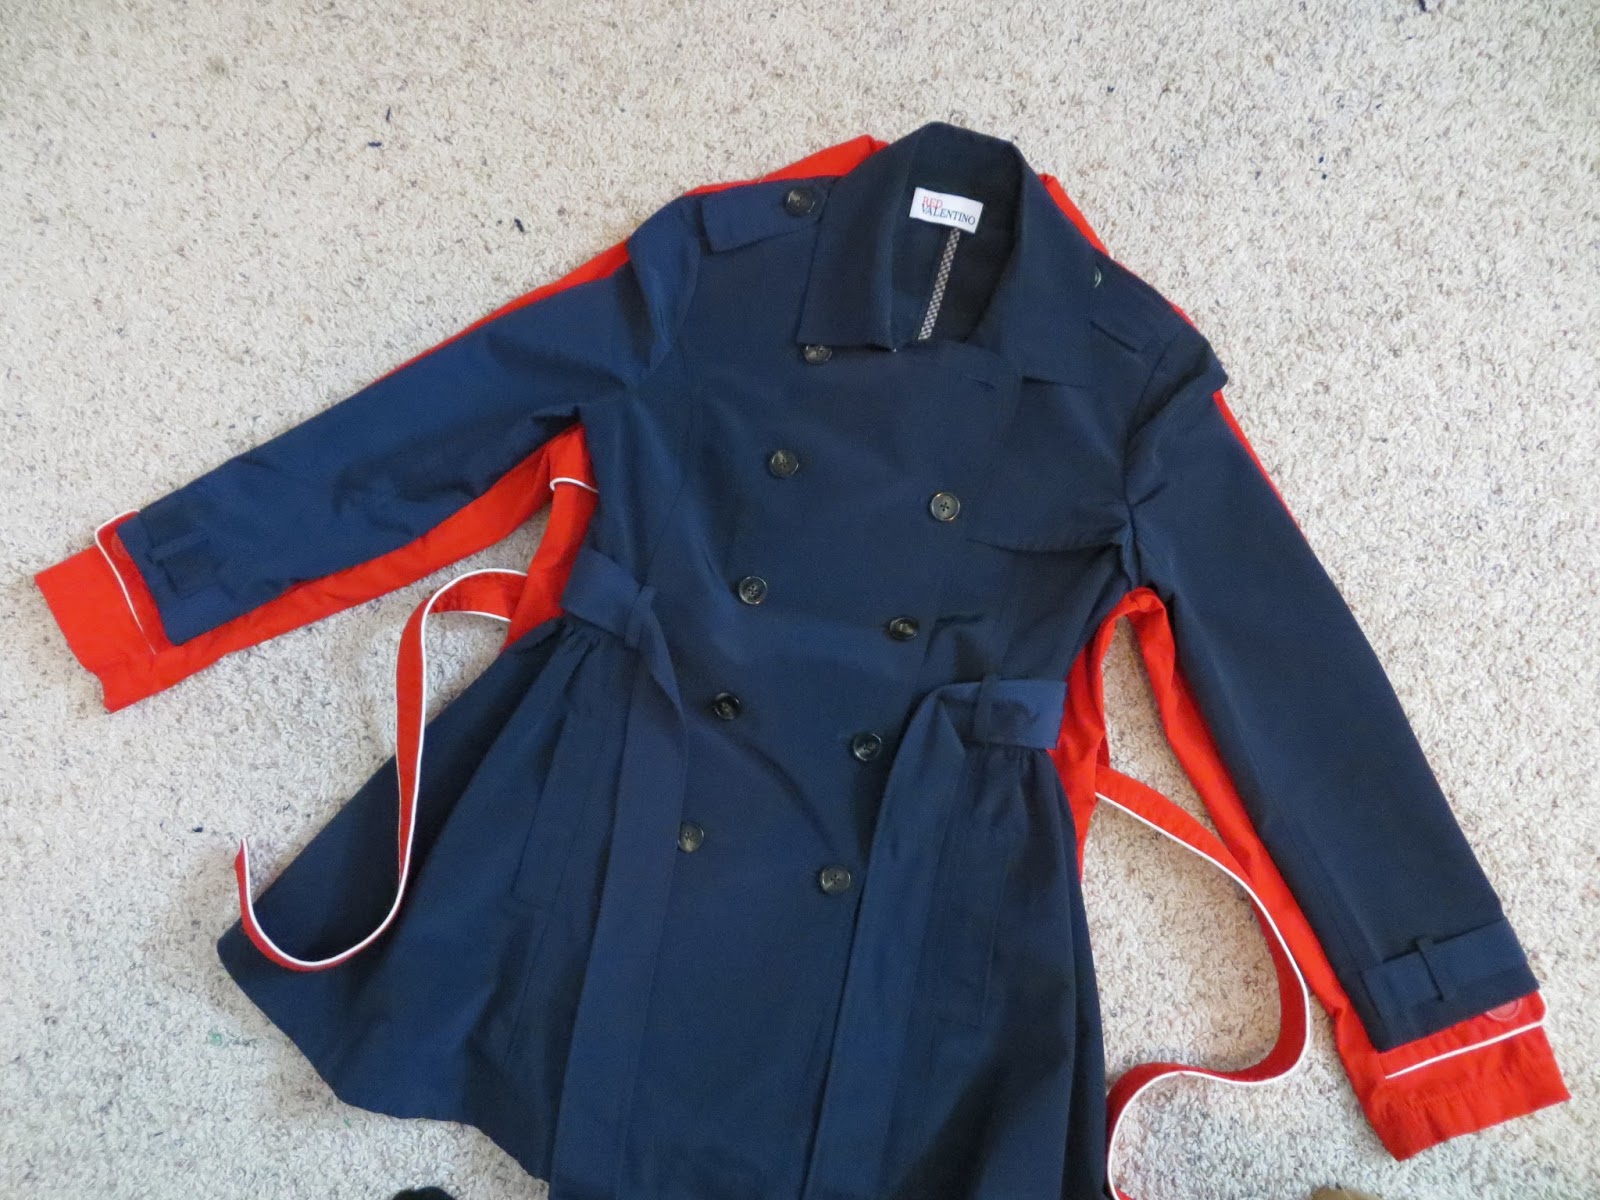
I'd been wanting a red trench coat forever! As soon as I washed it, two of the buttons came off (above), so I sewed them on (below). I love the style of it: bold red with white trim. Totally me. However, it was two sizes too big. I could have belted it, I guess, but I hate when trench coats don't fit perfectly.


I laid my Red Valentino trench coat (which cost a good deal more than a dollar!) over it as a guide.


The first thing I did was to cut the belt loops off and set them aside. They were interfering with the side seam.


I turned both coats inside out and started planning out my pinning.


Once pinned (which took a while), I sewed up the seams.


A close up of a seam.


I cut off the excess.


Because the rest of the seams were covered, I decided to cover this new seam. I used black binding lace.


I also cuffed the sleeves. 


Then, I put the jacket on and figured out where the tops of the belt loops would need to go back on. You can see the pins.


I sewed the loops back on.


I put the original picture next to the picture of the alteration, so you could see the difference.


The End!


Saturday, April 9, 2016

Alterations: Make Shoulders Smaller in a Shirt

This post isn't for everyone. If you have been blessed with shoulders and an hourglass frame, you need not read on.

This post is for me and the other Tinkerbells out there:


Small shoulders, big hips.

So, when you get a shirt that fits like the one below (shoulders that hang off your frame), you can do the following steps to fix it. 

This shirt is Tommy Hilfiger, so. . .I guess it was made for a rugby player?


First of all, cut off the sleeves by cutting into the bodice, not the sleeve. This is for a few reasons. Firstly, since you will be taking fabric away from the bodice shoulder anyway, you might as well cut into that part. Secondly, if you keep the original seam on the sleeve, it will add stability to the seam as you ease it back on. Also, since you are taking fabric away, the sleeves are going to be shorter, so leaving the seam on the sleeve will help to save as much length to the sleeve as possible.

After the sleeves were cut off, this is what I was left with. You will see that even with cutting the sleeve off, there is still excess fabric hanging over the shoulder and arm hole area.


Using my dress form as a guide, I cut a section off. Not too much, because I still needed some left as a seam. If you don't have a form, use another shirt that fits you as a guide.


The other sleeve.


And the other sleeve cut.


Then, I took the shirt off the form and folded it in half to make sure the arm holes matched. They were pretty much exactly the same.


All righty. So, another issue I ran into was getting the stripes to match back up. As you can see in the picture, I pinned both the top and bottom of each stripe to keep my machine from feeding the fabric in wrongly. I will say, when I was done, most of them matched up great, but one stripe in the back I had to redo a few times. For some reason the feed dogs really wanted to pull the bottom layer through faster on that one. . .But I finally got it!


The finished shirt. You can see it fits the form much better.


You're welcome, Tinkerbells of the World!

(. . .Apologies to the rugby players. . .)

The End


Friday, February 26, 2016

Refashioning: Fixing a Neckline

I'm pretty sure I've blogged about ways to take up necklines that are too low, but I can't seem to find them. . .Anyways, here is another way.

You might think that to shorten a neckline, you would have to either add a panel of fabric to the lowest part (too homeschool-looking), or take up the shoulder seam (which can alter the shirt too significantly). Both of those would work, but I did something different.

Look at the picture below. I like the style of the shirt, but my chest is a lot higher than the person for whom this shirt was evidently made.


You can really tell it in this picture where the "V" drops almost between the two breasts. I don't like having to wear tank tops under things like this, so I decided to fix the problem.


Disclaimer: if your arms are very wide, you may not be able to do this fix, because it does shorten the arm hole. I have scrawny arms, so it works for me.


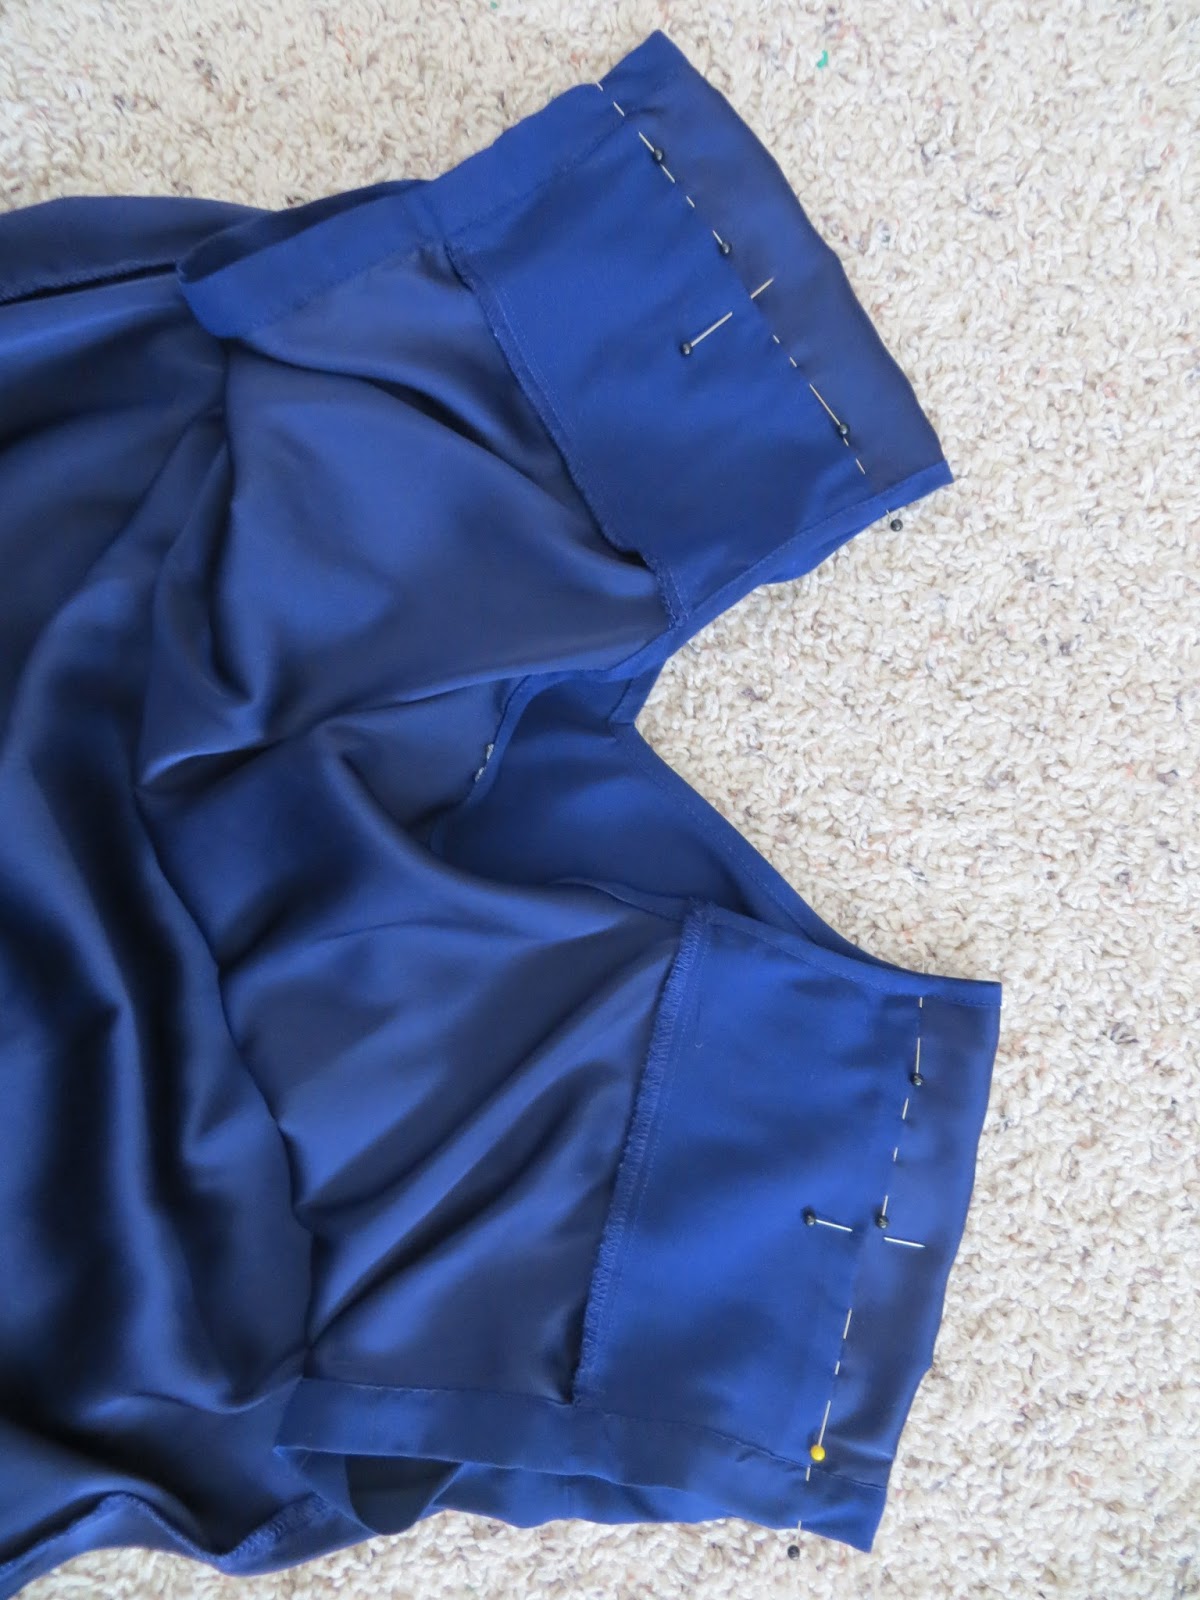
The first thing I did was to put the shirt on my dress form inside out. Then I pinched about 3/4" from the "epaulette seam." (I don't know what to call this seam. It's not the shoulder seam because that is on the top of the shoulders. . .It's not really epaulettes, but. . .You get the idea from the picture.)


Okay, one thing to remember about this is that the top portion is going to be shorter than the bottom portion. See those vertical pins? I had to put a little pleat in the bottom portion in order for the top and bottom to meet flush. You know what. . .look at the next picture. . .


It's a lot easier to see what I'm talking about from the other side here. See those pleats running vertically from the shoulders down? The bottom portion is wider, so it needed little pleats, which is great, because that look is in style.


Then, all I did was to use a straight stitch and stitch up my pinched folds.


I could have ended here, but the sleeve looks kinda funny and I wanted it to lie flat.


So, I top-stitched the seams I made.


Then, with pinking shears, I cut off the excess from the inside.


Here, I put the new alterations next to the original pictures so you could see the difference. 


 You never knew a fix could be that simple, did you!?


The End!


Tuesday, July 9, 2013

Fix Your Pants so They Lie Flat. . .In Five Minutes or Less

I have a problem when I go shopping for pants. Whenever I find skinny pants on super super sale (Read: the million $3.00 pairs of pants I bought at Rue 21 a few weeks ago), I have to buy them in several sizes larger than I am just so they fit on my hips. 

By the time I get to that point though. . .This happens:


Apparently, if your hips are big, your waist is supposed to be too. As a result of this clothing misfortune, I am constantly tugging my pants up, praying that they don't fall off! More expensive pants don't seem to have this problem, but. . .that fact is not going to make me spend more money!

Enter the solution:

Elastic. 

It doesn't have to be a particular size or type, just make sure it's a few inches long at least. I just used some elastic I found when cleaning out our "Hiking Closet." It is probably a crucial piece of elastic meant to save your life in some Bear Grylls way. Oh well. . .It's saving my life now, at least! (Don't tell my husband!)


Cut two slits in the inside part of the band around the waist. Make sure you cut the slits a few more inches apart than the length of your elastic.


You should be able to stick your finger into the slit. Notice the band around the waist is kind of a tube. Don't cut through to the outside of the band, or you will have a mess to fix.


Can you see how my finger is in the inside of the band, but the outside is not cut? Do that.


Stick a safety pin on one end of the elastic, and start feeding the pin through the band.


Once the elastic is almost completely through, secure the other end of it with a straight pin so that just a few millimeters of the elastic are sticking out the first slit.


When the safety pin makes it through to the other end, secure that end of the elastic with another straight pin. Can you see both slits with pins in them? It doesn't matter if your elastic gets all twisted up in there. It's probably not ever going to lie flat anyways, so don't sweat it.


Set your sewing machine on the widest zig zag you can get and sew forward and backward down the slit. Make sure the thread grabs not only the elastic, but also either side of the slit. If you don't get all three of these things, go over them again with the zig zag till you do, otherwise you risk a tear and/or losing your elastic into your pants (Read: Unnecessary Headache). It's okay if this stitching is messy. Skinny pants are meant for long shirts to be worn over them. 


Ta Da!


The. . .End. (Pun intended.)