Showing posts with label 50s. Show all posts

Sunday, August 7, 2016

Refashioning: A Girl's Formal Dress into a Box Pleat Cupcake Skirt

I found this dress....guess where...Yep! The dollar rack.

It is a little girl's size 12/14 ball gown kinda dress. It was too small to fit me (and I don't like strapless), but the fabric on the bottom was enough to make a cute skirt from. It is silver and black brocade, but it looks like that high end designer embroidery that is always all over Dolce & Gabbana and Valentino and stuff...


I cut it apart. I'll probably use that bow for something later.


Okay, so once again, if you do something like this, make sure you zip the zipper pull down past where you want to harvest fabric, otherwise you will have to put in another zipper. (Side note, I did this right and then two minutes after I cut the bodice from the skirt, I wasn't thinking and zipped the skirt up...and pulled the zipper pull right the heck off! So. . .I had to install another zipper. . .so what I'm saying is: PAY ATTENTION!) :)


The fabric was all crinkly from being gathered.


So I had to iron it.


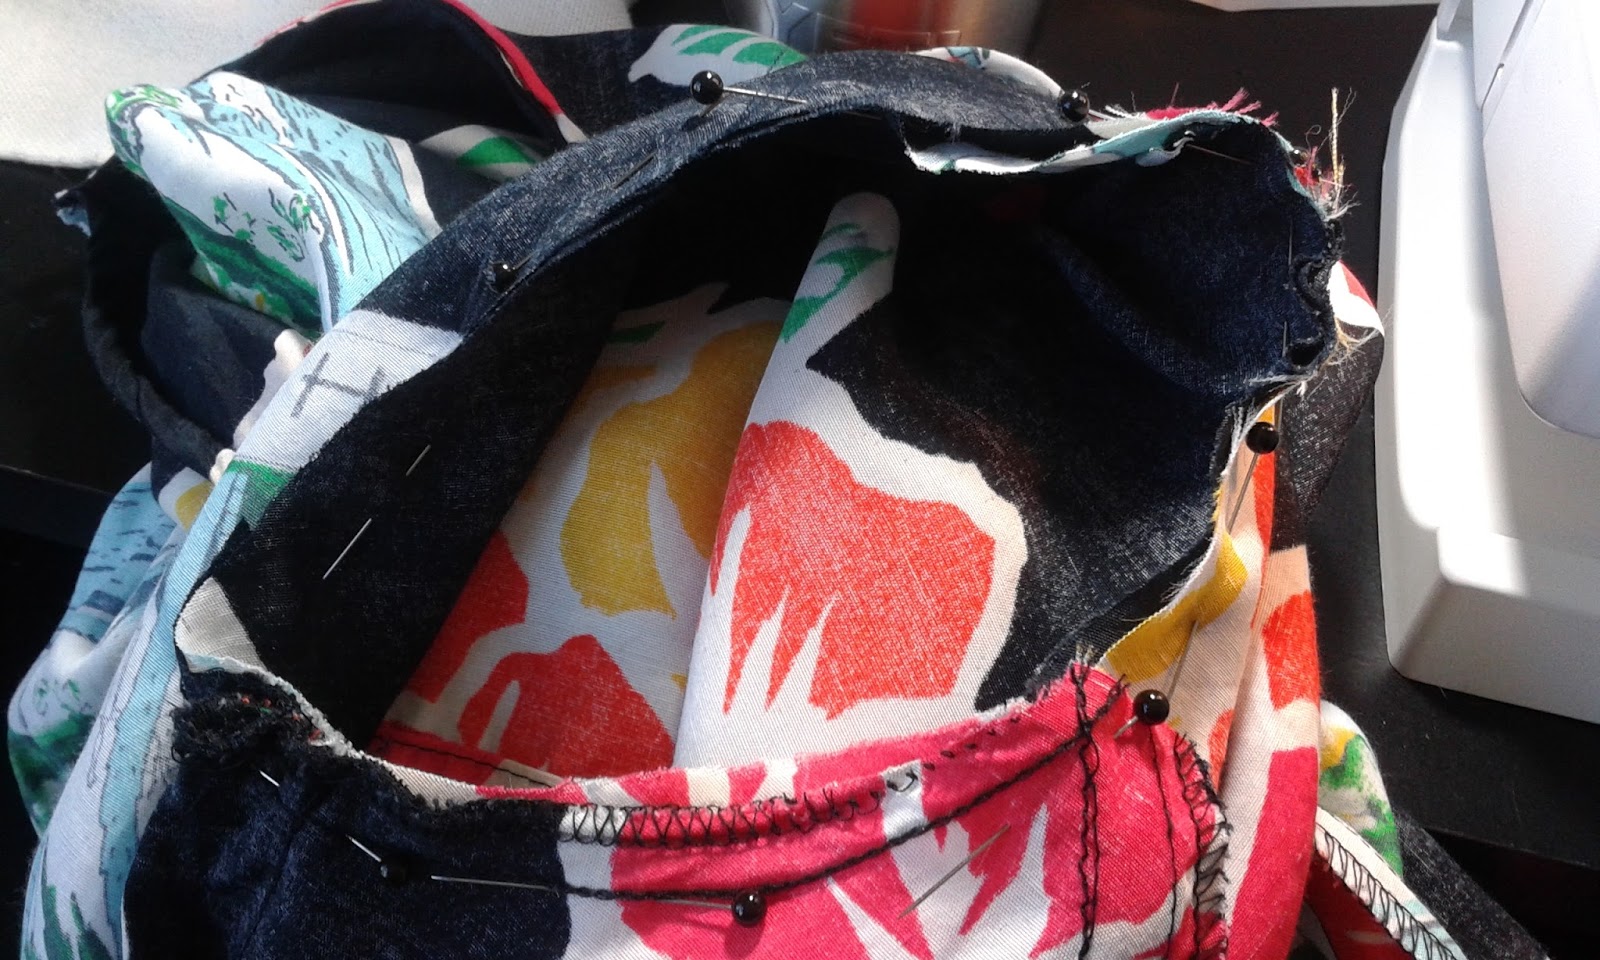
After ironing, I measured myself and put in box pleats that would fit my waist. Then, I remembered I had an old college choir skirt that I never wear, but it had a really nice waistband, so I cut it from that skirt and pinned and sewed it to this new skirt.


The finished skirt!


The End!


Tuesday, March 8, 2016

Refashioning: Dolce and Gabbana Inspired: Moo Moo to Modcloth

I was watching the 2016 Spring/Summer Dolce and Gabbana show on Youtube the other day. The show was all about Italy, and it ended with all the models coming out in these sweet little shift dresses celebrating different Italian destinations. I think they are precious.


Anyways, a few days later, I was in a thrift store and I saw this moo moo hanging on the dollar rack.


True to moo moo form, notice how the back is smocked and gathered with lines of elastic in the middle of the back. This will be important later. (Mini Spoiler alert! - No need for a zipper!)


I noticed a few of the medallions in the fabric said, "Royal Hawaiian Hotel," and I thought. . .It's worth a dollar trying to make my own destination dress!


First step was to cut off the sleeves.


Notice that the neckline is very large and is about to fall off the shoulders of the body form.


So, I pinched the dress at the shoulders and pinned them up about 2".


Then, I pinched in at the sides and the front princess seams and pinned my "pinchings" down to the waist, but no lower. I didn't pin anything in from the back, because remember how gathered it was with the smocking in the middle back? I didn't want to add any more fabric at my butt than was necessary.


Then, I took the dress to my machine. I sewed my pinned areas with a large basting stitch--just to make sure that they were in the right place before I sewed them down for real. (I've made too many mistakes jumping the gun here, which is why I highly suggest this step.)


This is what it looked like after the basting. Starting to look good, no?


Using my body form as a pattern, I cut the excess fabric off at the shoulders before adding sleeves. (I could have just made the dress sleeveless at this point and been done, but I like sleeves.)


Okay, I literally just took the same sleeves as were on the dress before. I didn't trim them or anything, even though they were too big for the armholes of the dress I now had. I kept them big so I could pleat them for a puffed sleeve look.


I sewed the sleeves together first and then pinned them, right sides together, to the dress.


The finished dress!


See the top of the sleeve? I added a pleat with the excess sleeve fabric.


Again, because of the stretchy smocking, I can get in and out of this dress without a zipper!


Because I didn't sew my inner seams all the way down past the waist to "nothing" (which would be true darts), the skirt part looks pleated and also adds fullness.


I think it looks like a dress from Modcloth now!


The End!


Wednesday, February 3, 2016

Refashioning: Making Clothing More Functional - Sleeveless Dresses into Skirts

Here is a little series I am doing in the "Refashioning" vein, but specifically geared towards changing "okay" clothing into more functional pieces (vs. hideous pieces into less hideous). I hope these entries give you some ideas!

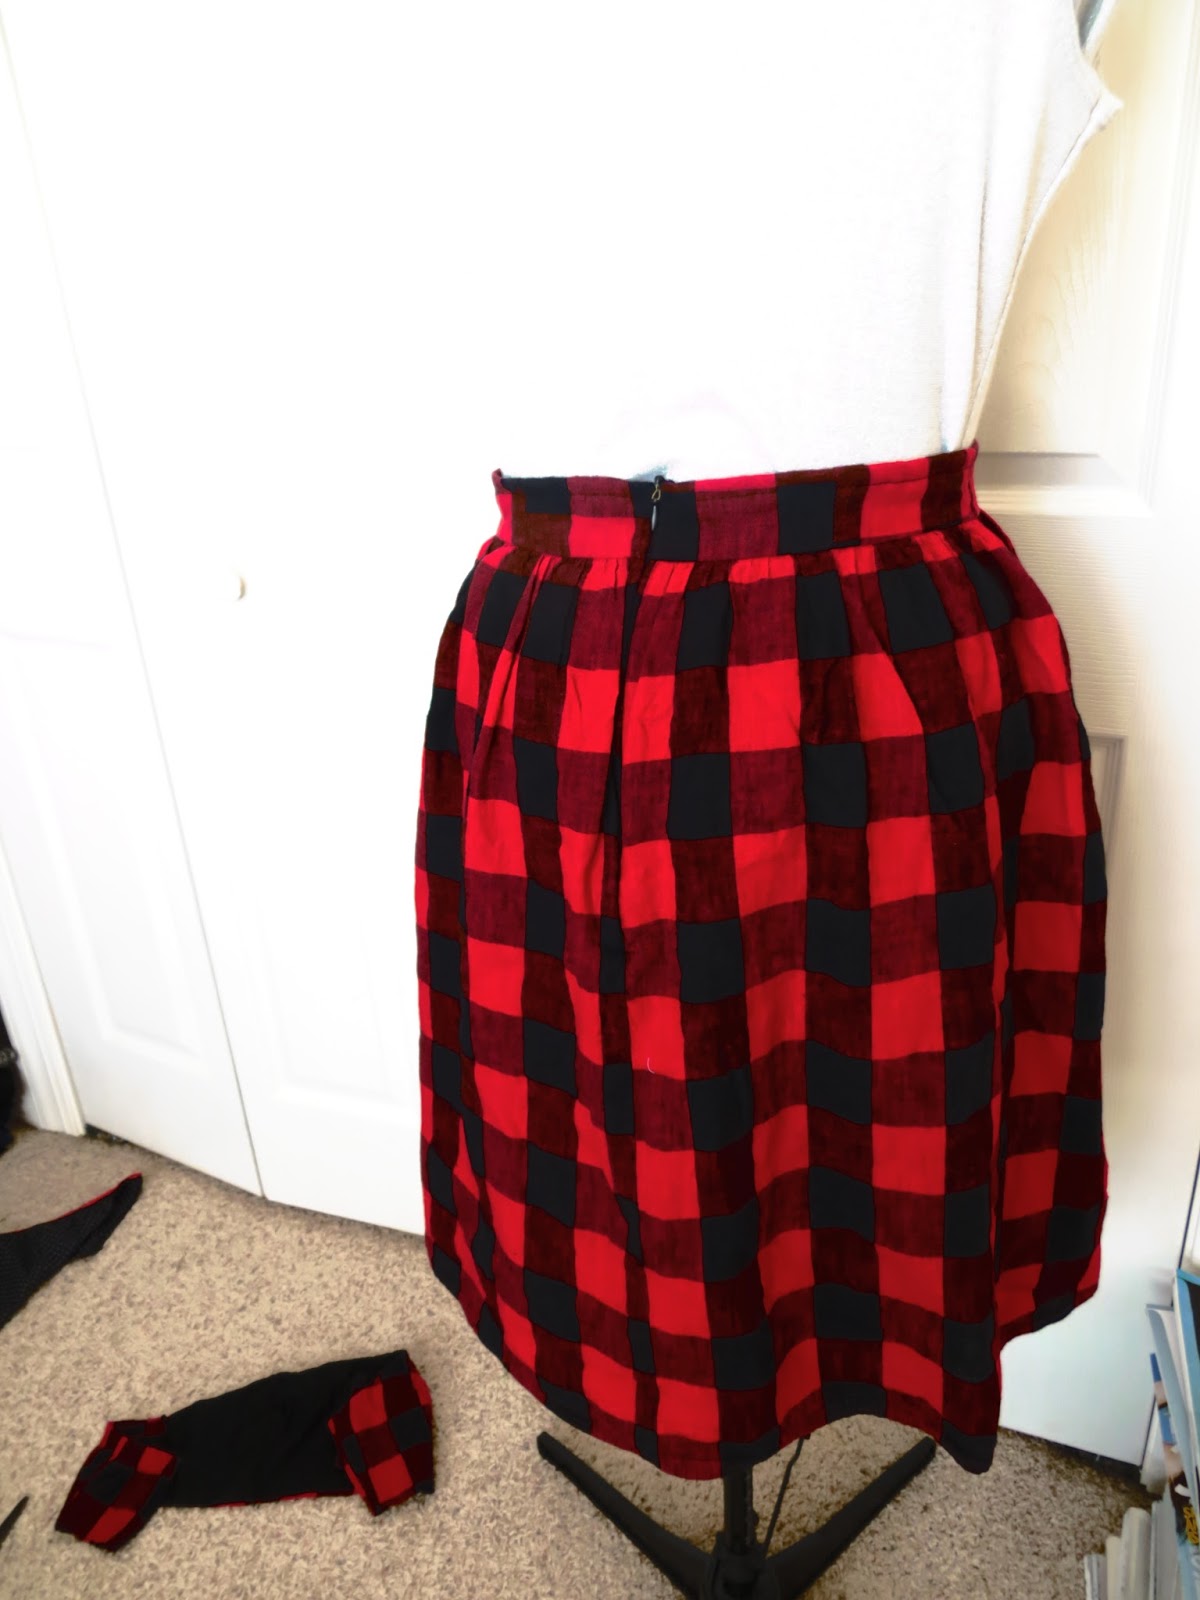
Today's post is about how to turn sleeveless dresses into skirts. It really is as easy as cutting off the bodice and hemming the waist, but for those visual learners, scroll through the pictures!


A note before cutting, you will notice I laid the dress down with the front of the dress facing the floor. Now look at the picture below. I am lifting up the back bottom hem. I pulled it down below the front about half an inch or so. This is to allow for "butt lift." This is for those babies, who like me,..."got back."


So...really important. If your dress has a zipper and you want to keep it, make sure to zip it down just past the waist. Otherwise you will chop it off when you start cutting!


To hem the waist band, just fold it down twice about 1/4-1/2inch and pin it. Then sew.


Zip the zipper up to the top before you start stitching, this helps you keep both sides even.


That's it! Here's my finished skirt with one of my favorite T-shirts!


Here's another sleeveless dress I turned into a skirt.


Don't forget the zipper!!


I probably would never have worn these dresses as dresses because they were too high maintenance, but as skirts, they will get much more mileage!

The End!!