I was watching the 2016 Spring/Summer Dolce and Gabbana show on Youtube the other day. The show was all about Italy, and it ended with all the models coming out in these sweet little shift dresses celebrating different Italian destinations. I think they are precious.

Anyways, a few days later, I was in a thrift store and I saw this moo moo hanging on the dollar rack.


True to moo moo form, notice how the back is smocked and gathered with lines of elastic in the middle of the back. This will be important later. (Mini Spoiler alert! - No need for a zipper!)

I noticed a few of the medallions in the fabric said, "Royal Hawaiian Hotel," and I thought. . .It's worth a dollar trying to make my own destination dress!

First step was to cut off the sleeves.

Notice that the neckline is very large and is about to fall off the shoulders of the body form.

So, I pinched the dress at the shoulders and pinned them up about 2".

Then, I pinched in at the sides and the front princess seams and pinned my "pinchings" down to the waist, but no lower. I didn't pin anything in from the back, because remember how gathered it was with the smocking in the middle back? I didn't want to add any more fabric at my butt than was necessary.


Then, I took the dress to my machine. I sewed my pinned areas with a large basting stitch--just to make sure that they were in the right place before I sewed them down for real. (I've made too many mistakes jumping the gun here, which is why I highly suggest this step.)

This is what it looked like after the basting. Starting to look good, no?


Using my body form as a pattern, I cut the excess fabric off at the shoulders before adding sleeves. (I could have just made the dress sleeveless at this point and been done, but I like sleeves.)

Okay, I literally just took the same sleeves as were on the dress before. I didn't trim them or anything, even though they were too big for the armholes of the dress I now had. I kept them big so I could pleat them for a puffed sleeve look.

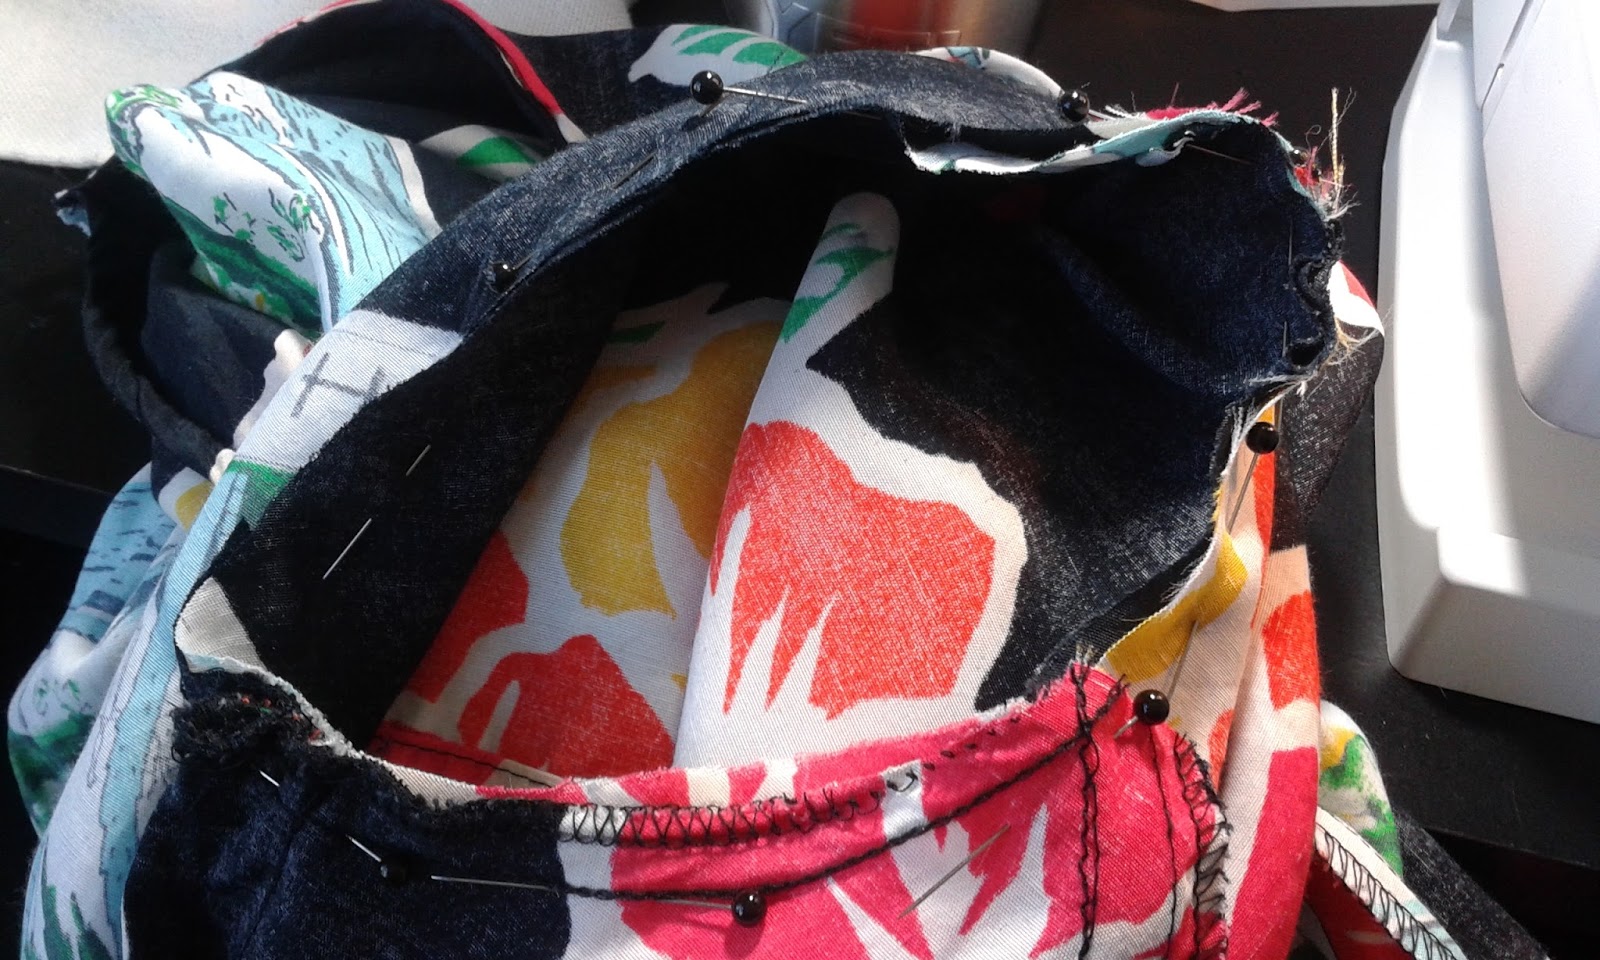
I sewed the sleeves together first and then pinned them, right sides together, to the dress.
The finished dress!

See the top of the sleeve? I added a pleat with the excess sleeve fabric.

Again, because of the stretchy smocking, I can get in and out of this dress without a zipper!

Because I didn't sew my inner seams all the way down past the waist to "nothing" (which would be true darts), the skirt part looks pleated and also adds fullness.

I think it looks like a dress from Modcloth now!


The End!


