So one of the biggest trends this past fall/winter (and looks like will still continue into the spring) is OTK (Over-the-knee) boots. They look great worn with shorter dresses and they keep your legs nice and warm. . .not that we have really needed that this past winter. . .Wait. . .Was there a winter?
Anyways.

They really do look super current and they help with coverage for those of us who don't like our legs so much. However, if you have a pair, I'm wondering if you have run into this same problem: They tend to "bust a sag." See how saggy and wrinkly? Not very pretty. I thought about buying a thinner pair and donating these. . .But if you know me, you know that I don't give things up without a fight! I would try to fix them first. . . Aaaaand you can probably guess that my fix was a success, because now I'm passing the info along to you!

So, my first step was to determine from where the sag was originating. I realized that if I pinched the fabric on either side of my knees, the rest of the boot lined up fairly nicely.

If I owned a boot factory, I would have turned the boot inside out and taken the back seam in about an inch. However, due to their construction--and the fact that I don't own an industrial facility--I could only get the top 1/3 of the boots turned inside out. But. . .the seam needed to go all the way down to the ankle!
No matter. It's not as hard of a fix as all that!

My second step was to use these stickers to denote the places I pinched. To be exact, these stickers denote the area about two inches below the knee. Why two inches below? Stay tuned. I'll explain in a bit.

I grabbed some elastic and some wide ribbon. (If you do this, the ribbon needs to be wider than the elastic.)

I pinned a piece of ribbon between each sticker on the inside of each boot. (This is from the outside.)

This is from the inside.

And a close up of the outside.

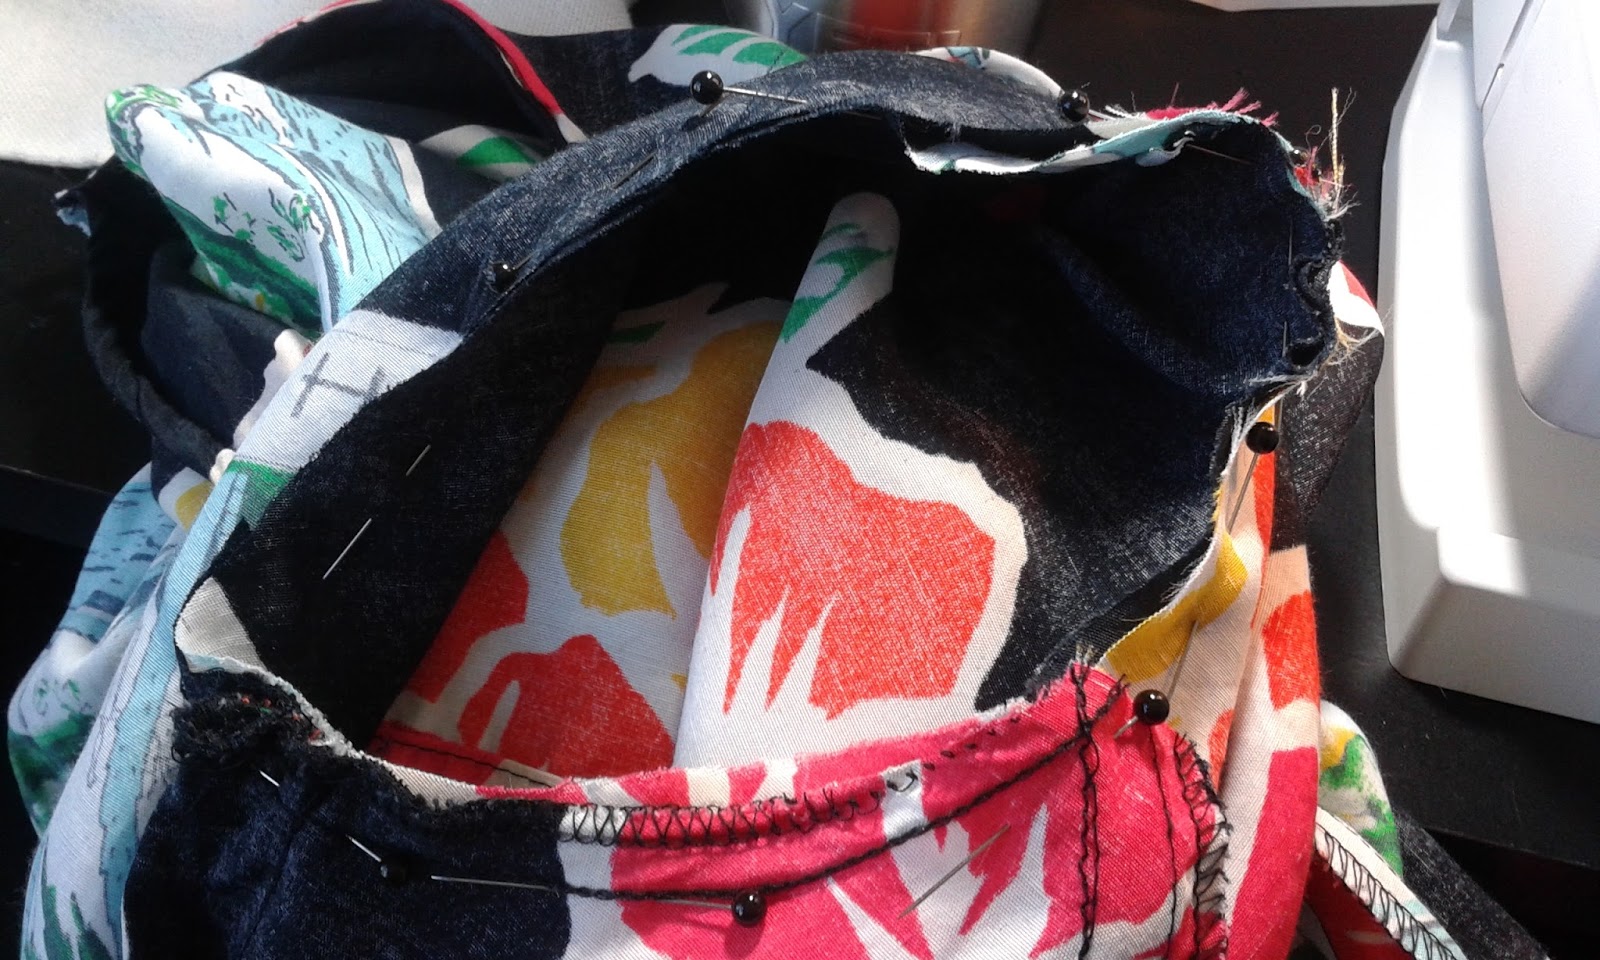
As I said before, it was impossible to get these boots turned completely inside out, but I COULD get my sewing machine into the boots far enough to sew this ribbon in place.

This looks harder than it is. What you have to remember is to sew the line on the left from top to bottom first. Cut the strings, and then sew the line to the right from top to bottom again. In other words, keep the bulk of the boot to your left at all times. You are creating two parallel lines, not a box.

Here, you can see the parallel lines from the outside.

Then, I took my bodkin (or you could use a safety pin) and attached it to a piece of elastic and fed it through my "ribbon tube."

I pulled the elastic all the way through and held the end of it flush with the tucked-in end of the ribbon.

Then, I stitched it all in place.

Then, I pulled the elastic so that it gathered up enough to fit my legs tightly.

I cut the elastic off, folded the ribbon under, and pinned everything. Then, I stitched it all in place.

And this is what each boot looks like from the back now. It actually looks pretty good like it was done in a factory, I think!

And here is why I put the elastic two inches below the knee: Because that is where the "fat" part of my calf starts. So, essentially what I'm doing is using my "fat" to counteract gravity! As I walk, gravity wants to pull the boots down; however, now the elastic hits my calf and the boots stay up now!

Before (left) and After (right)!


The End!