Showing posts with label pattern. Show all posts

Tuesday, February 17, 2015

Colorblock Black and White Striped Tunic with Pockets: McCall's M6565

I made this shirt the other day. It took about eight hours, because there was tons of planning, and I had to re-fashion the original pattern due to the fact that I have zero torso. I think it's super cute, though. It's another "bought pattern" one, so I am just going to cover details and not the process.


I bought this pattern from a thrift store over a year ago, and I've been dying to make all of the designs below, but. . .as you can tell, I started with "D." The only problem with it was that the pattern for the inner front lining was missing, so I had to make a new one based on the other pieces. 

This is one of those projects that you go, "This is obviously for sewing women to make themselves and/or only their closest friends/relatives as gifts, because no one would want to actually pay for the amount of work that goes into something like this." I mean, it's not a wedding dress, and no one is going to want to pay $160 for a shirt when they can buy clothes off the Walmart sales rack for $2! (That was my rant for the day.)


Notice the gathers on either side of the bust. Also, notice how the stripes start horizontal at the shoulders, but because of the design and gathering, the stripes start to slant toward the hips. Kind of interesting. 


This wasn't in the directions, but I top-stitched the middle panel because it wasn't laying right. The pattern called for non-stretchy fabric, but. . .I love jersey, so I ignored those directions and top-stitched the middle panel.


Pockets!


The original patterned sleeves stuck out too much, so I folded them and stitched them in a bit.


I hand-tacked the folded part down underneath.


Back darts. They were actually more complicated than I'm used to, but they turned out nicely.


Side view.


Okay, this is why this shirt took so long: The entire thing is fully lined. This is the front lining.


Back lining.


Even the sleeves are doubled. The advantage to completely lining the entire thing is to keep it stable from underneath and to keep from seeing any top-stitching on the outside (other than the stuff I did on purpose that I showed you earlier). It just looks cleaner that way, but. . .I mean. . .It's not like I'm going to meet the queen in this, you know? I probably won't take all these measures in the future for just a shirt!

Here you can see the folding and tacking of the sleeve from the inside.


The black line is the top-stitching from earlier and the other vertical seam is a dart in the lining.


Both the sleeve holes and the neckline I understitched.


I think I am going to try a scaled-down version of this sometime using my "lay it down and cut around it" method and see if I can make nearly the same thing in less time. Still, besides the fact that it took so long, it is really cute. . .and well made, if I do say so myself!


The End!


Friday, January 30, 2015

Valentine's Day Special: Colorblock Western Shirt with Owls

Remember last year when I made this for my baby?

My friend, Tina, recently gave me a bunch of fabric and notions, so I was going through my current inventory to make room, when I came across this little gem in my pattern repertoire. I had forgotten that I've been wanting to make my husband a western shirt for ages. He likes that retro look, so this shirt was a perfect choice for him. I know it's like. . .two weeks early from Valentine's Day, but. . .I wanted to make sure that I got it done during a time when I wasn't busy, and. . .this gives him time to get me a good present. (Mmmmuhahahaha...)


Here it is! I'm not blogging the process because. . .it's just a pattern, and that's boring. Plus, the whole shirt took me about 12 hours from start to finish and this blog would be a book. I will, however, go over some details. First off, see how the plaids on either side of the buttons match up? Also, my husband is super skinny and tall. (He is so tall and skinny that the daughter of some friends of ours calls him "Tree.") Anyways, he can never find shirts with sleeves that are long enough, because apparently skinny means that you have short arms in the fashion industry, so that was something I considered when cutting out the patterns.


I found the owls on www.embroiderydesigns.com. My husband also loves owls, but as he is a man, I needed to find an owl that wasn't obnoxious and girly.


Most embroidery machines have the capability of flipping the design.


This butterfly collar is for REAL, y'all. I was able to use the last piece of iron-on interfacing that I had for this collar, but when it came to reinforcing the button strip and the cuffs, I ended up just using an extra piece of fabric inside. (By the way, if a pattern calls for iron-on interfacing and you don't feel like running to the store, you can always just use a piece of slightly stiffer fabric. Just make sure you pin it well [or stay-stitch, which I never do because it's a waste of time] before sewing so it doesn't move around. That's the advantage of iron-on.)


I made sure that all the buttons were sewn on with the crown design at the top.


In retrospect, I should have made the button holes vertical instead of horizontal, but they still do their job. I love my Husqvarna machine. It does perfect button holes. (Blogger won't let me center this picture, that's why it's off to the side.)


For some reason, Blogger won't let me type above this picture, so. . .Anyways, here's the cuff! Isn't it great?! 


I learned a new seaming technique: flat fell. The pattern called for it along the shoulder to armpit seam. It's a little crooked because I had to top stitch it from the inside. It bothers me, but not enough to take it out.


This is what a flat felled seam looks like on the inside. It's nice and clean. You are supposed to do this technique on seams that see a lot of wear. In fact, the inside seams of jeans have this stitch.


Here is the inside of the shirt.


This is the seam along the sides of the shirt. It was supposed to be flat felled too, but I got lazy and just did my "surger" stitch that I typically do on jersey. Actually, I didn't want to have top stitching down the sides. I felt like that would be overkill.


The back.


I wish I would have had those pearl button snaps that you find on most western shirts, but I didn't. Anyways, I tried to nod to them at least by putting a smaller button at the collar.


The End!


Saturday, January 10, 2015

Make a Raglan Sleeve Out of Any Two-Piece Shirt Pattern

Now that the holidays are over, and I'm not directing and writing Christmas plays, I have been getting back into sewing. Actually, I was still sewing during that time, I was just too lazy to post anything. Sorry. Maybe one day I will post the things I did during that phase of my life.

Here is a project I did just yesterday.

If you like raglan sleeves, here is an easy way to turn any two piece shirt pattern into a raglan pattern without cutting your pattern apart.

As you can see below, this is what I'm talking about when I say a "two-piece shirt pattern." In other words, a two-piece shirt pattern is one where the bodice and the sleeves are all one piece, so the whole pattern is two pieces: one for the front and one for the back. (Usually the sleeves are a separate piece.) The pattern below is actually a one-piece shirt pattern as the front and back have been combined as you can see from the slit at the neckline.


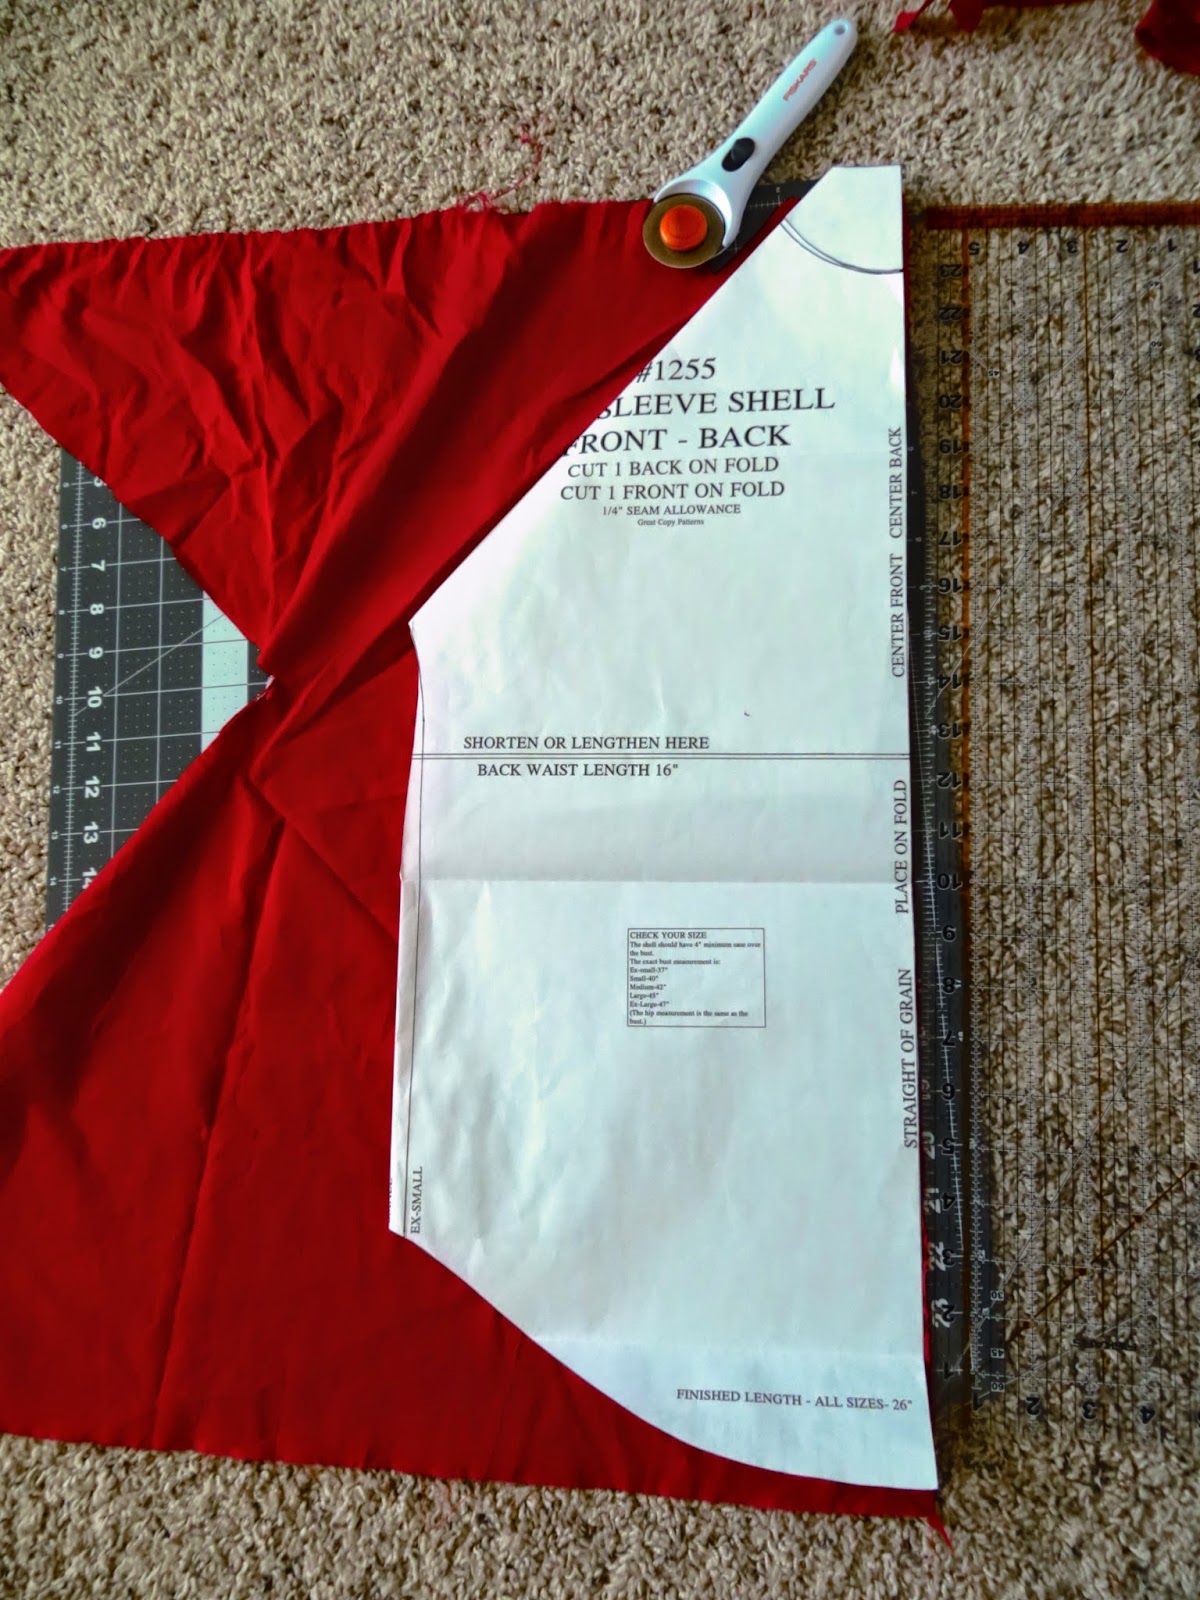
Okay, to make a raglan sleeve, all you do is make a diagonal fold from the neckline to the arm pit. You then simply cut out both sides of the fold from different fabric, sew them together, and you're done. I chose red for my bodice. (I don't use pins. I just hold the paper down with one hand and rotary cut the fabric with the other. God bless rotary cutters.)


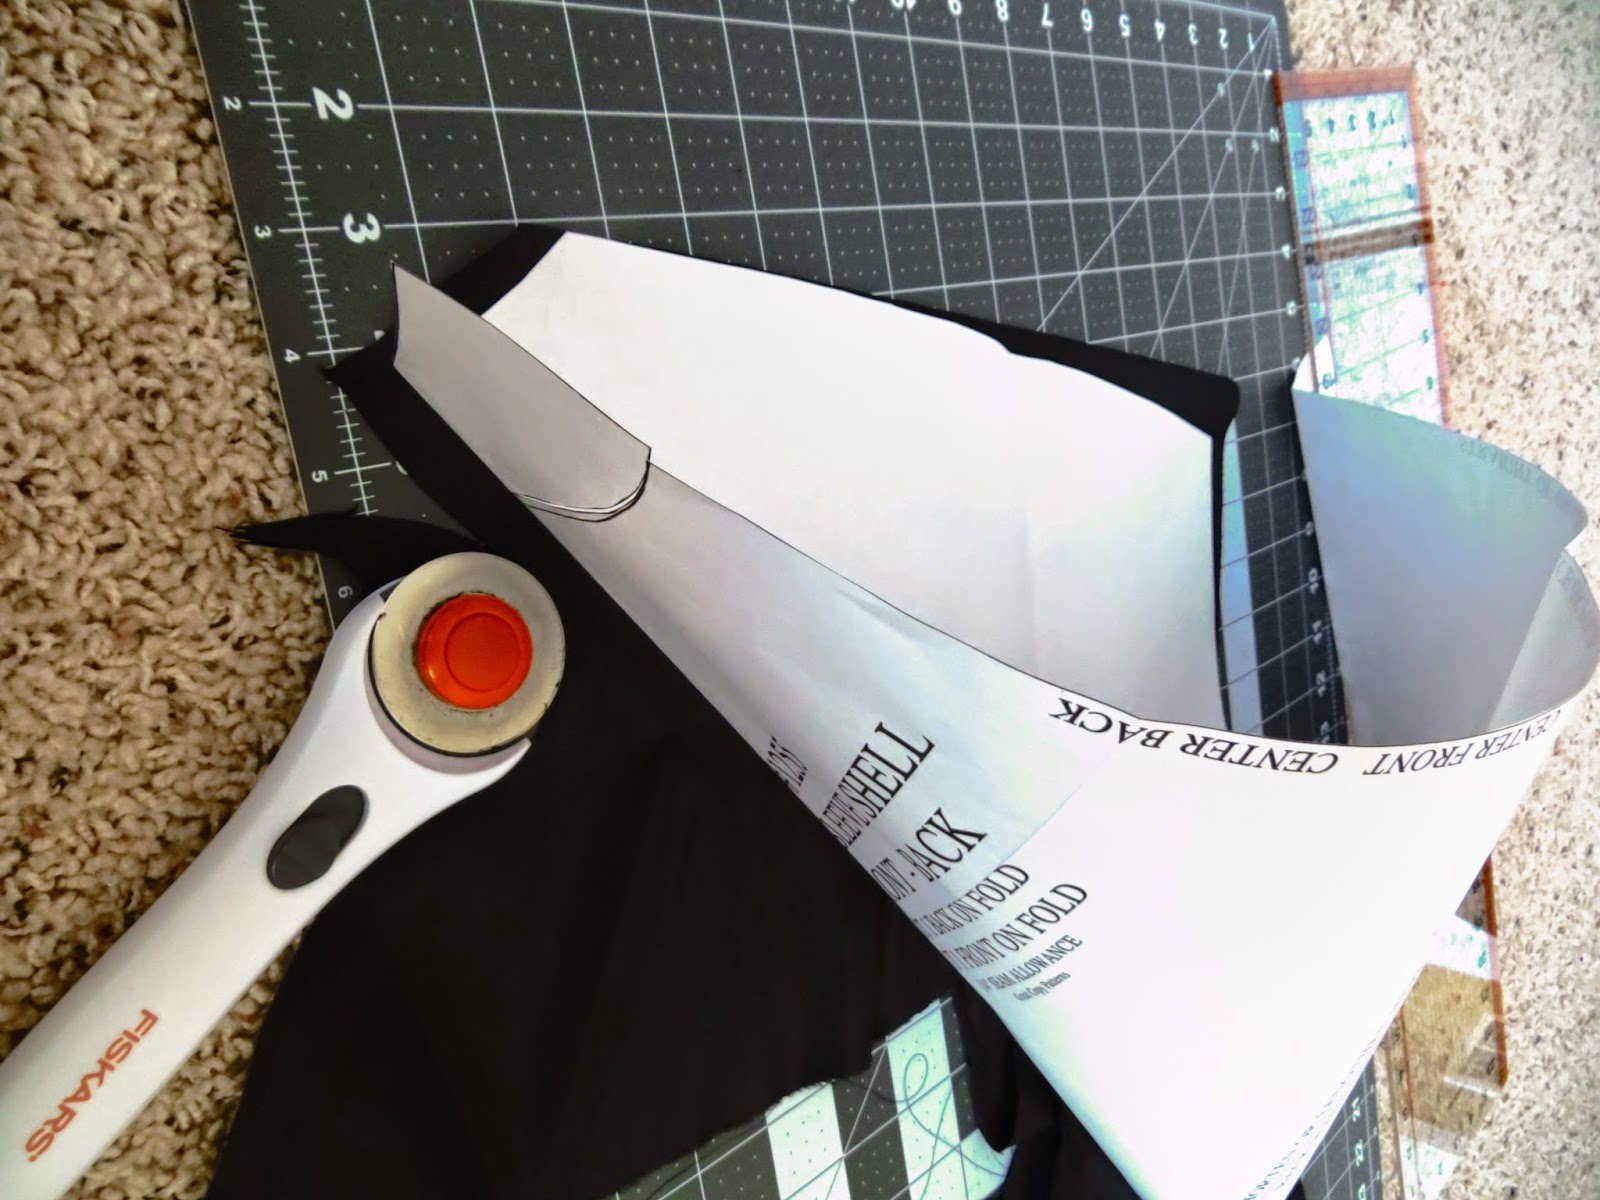
Then, I chose black for the sleeves. I folded black fabric over and made that fold to be the top of the sleeves (where I'm pointing). I held the folded sleeve pattern in place with one hand as I rotary cut around it with the other.


Here is another view:


And another view:


(**One note about this. After you cut out your sleeves, unfold the fabric, lay the sleeves on top of each other, and cut a line from the back neckline to the front neckline. Use the paper pattern as your guide for this. The reason you should do this is because the front neckline is lower than the back, and if you don't make this cut, your red and black fabric won't match up in the front.)


Here are some pictures of the finished shirt. (I had kind of a nineties red and black baseball shirt sort of thing going, hence the make-shift black choker.) This over-sized shirt will go well with skinny jeans and tall boots.


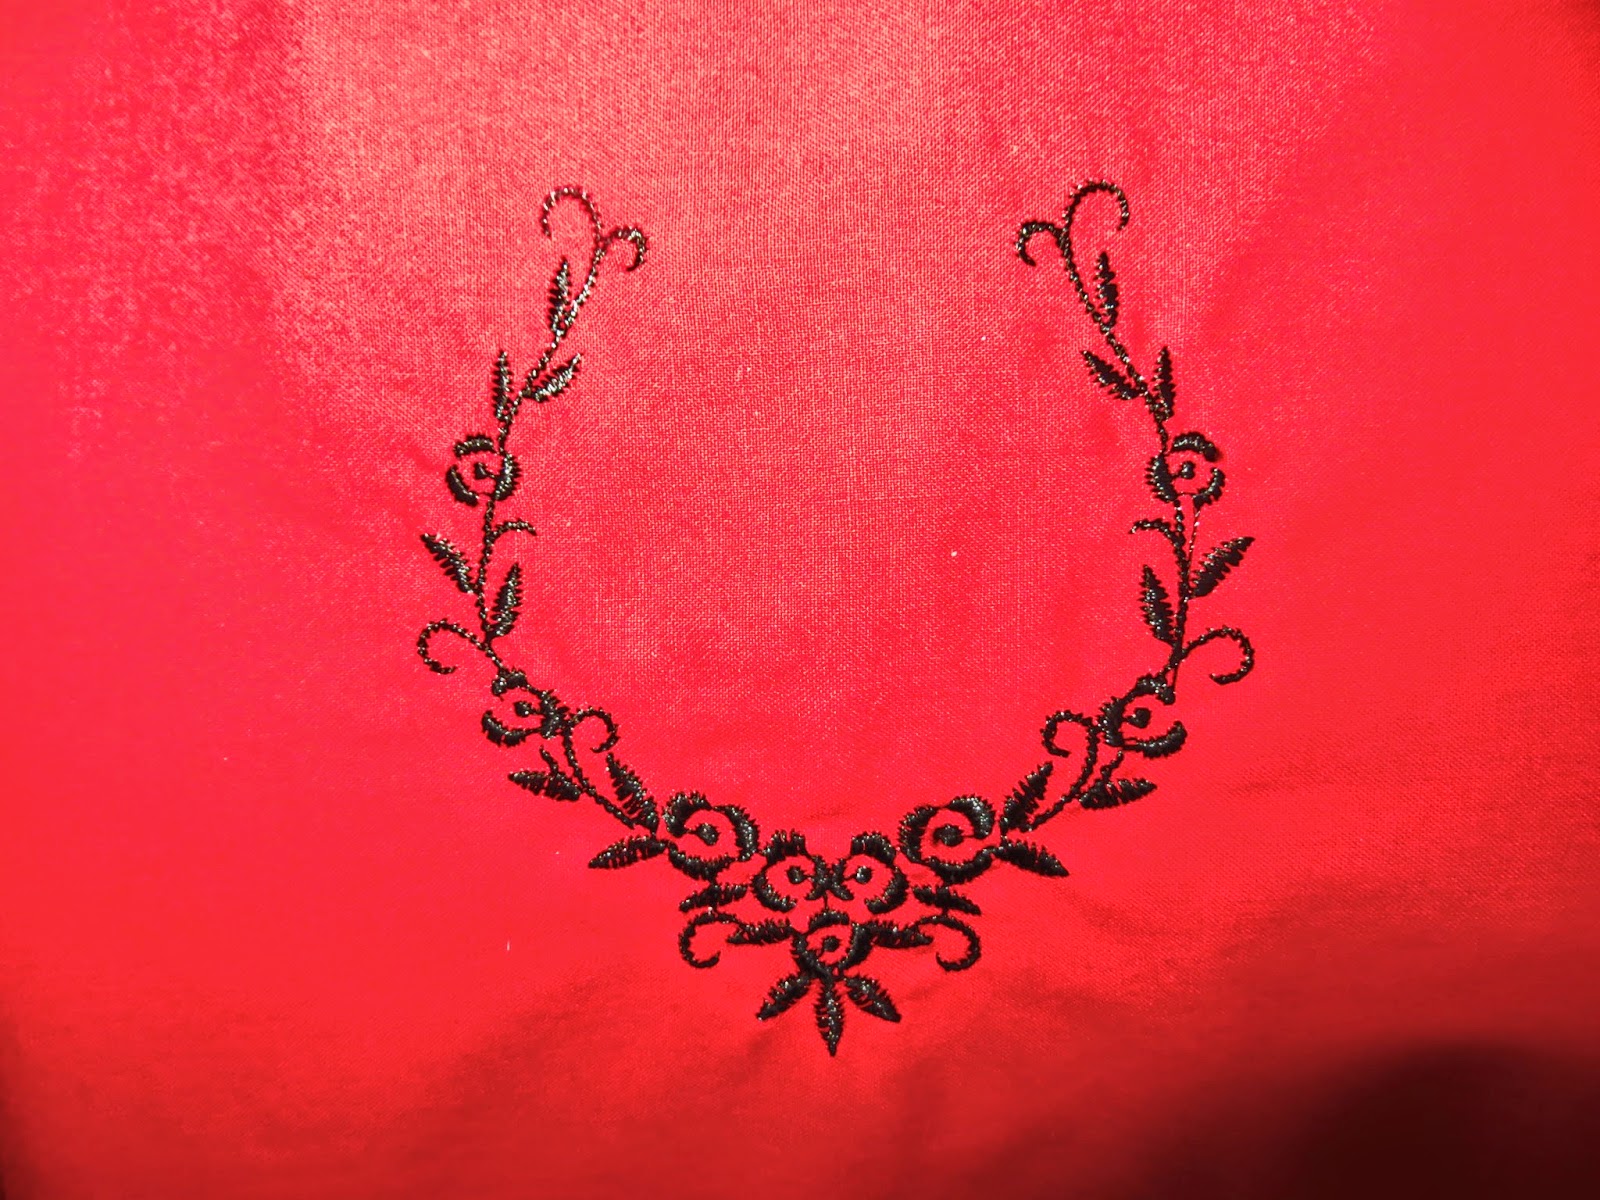
I had some fun with my embroidery machine that my husband bought me two Christmases ago, and I hadn't used until just a few days ago because he was threatening never to buy me any Christmas presents ever again if I never used this one, and I was also feeling tremendously guilty. Just kidding. He didn't really threaten that. I got a bottle of Chanel perfume this year, so all was not lost. :) But I did feel tremendously guilty. . .because it was expensive. . .But I just couldn't think of any good embroidery projects all year, was my problem. Also, I was scared of breaking it by using the wrong stabilizer or like. . .What if I ended up screwing up a project because I put the design on crooked? Stabilizer and embroidery thread ain't cheap, and I didn't want to ruin any of my clothes. Or like. . .what if I messed up the calibration of my machine the first time I used it because I didn't read all the directions? These are the thoughts that went through my head for over a year. Admittedly, that was unbelievably paranoid of me, but still. . .

Anyways, sometimes it takes me awhile before I use things. It took me two months before I opened and started using my new computer that I bought with my own money. I mean...don't take it personally, People, if it takes me awhile to wear/use anything you give me. Also, don't let that stop you from giving me presents, because. . .I like presents. I really do. . .Actually, I love them. . .Anyways, enough of this. . .

Isn't it pretty?


The End!


Friday, February 14, 2014

Christopher Kane Spring 2014 Inspired: Modification: Raglan Floral Shirt from a 70s Shirt and a Mini Dress

Sometimes you find something so gross and tacky at the thrift store that you can't not buy it. Case and point: The butterfly collared floral wonder below. I just couldn't pass it up. That's not just a painted or stamped floral pattern. Rather, it's a compiled photograph of flowers! How cool is that? Also, the shirt itself was handmade, which means not only was someone stylin' like it's 1979, but also she was doing it ON PURPOSE. 

I just felt I needed to buy it, if for no other reason than respect.


A year or so ago, I bought this dress for $6 on eBay. It's actually really well-made and lined. It has this neat little cape-let and epaulet details, and even though it looks repulsive on my body, I just couldn't part with it because of the color.

Do you smell a modification coming together?


Remember that one shoulder cut-out shirt I made here? Well, this new shirt is also an homage to that Christopher Kane Spring 2014 show with the florals and the nudes and the pinks. Skipping ahead a few hours:


I kept the "V" of the neckline as a keyhole detail as you can see above, but did away with the collar. It was a little too groovy for my scrawny neck.


I used some of the lining of the dress as the cuff of the sleeves because it was the same color only shinier. Just a little detail.


The End!