So...I bought this Candies trench coat a few months ago at the thrift store.

It's really nice and was in near perfect condition. The only thing I didn't like about it personally was the color. This pale pink color washes me out like none other.

Well, I decided to put it up for sale on eBay and Poshmark where it has been sitting for as many months. People "liked" it and added it to watch lists, but no one ever bit. I even took it to a consignment shop and they didn't take it. I was so confused. It's super stylish, a great fit, never goes out of style, etc. If the color had looked good on me, I would TOTALLY have bought this! I mean...the color looks terrible on me, and I still bought it! Ha!
Anyways, people don't make sense. . .
After months of waiting, I knew what action I should take: Dye it hot pink!

So, I downloaded the Hobby Lobby app and pulled up my 40% off coupon, drove to Hobby Lobby, found "Fuchsia" RIT dye and bought the 8oz bottle. (Regularly $4.95, but between $2-$3 with my coupon!)

According to the directions on the bottle, you are supposed to use 1/2 a bottle per pound of fabric with three gallons of water--the hotter, the better. The coat weighs only one pound, but I wanted the color to be as saturated as possible, so I decided to use the whole bottle of dye.
Also, the coat is cotton, so the bottle suggestions for organic fabric was to add 1 cup of salt to the dye bath. Also, it said to add 1tsp of dish detergent.
So. . .I know that some people buy a huge cauldron sort of pot for dying, but. . .when you think about the clean up, and the fact that the item has to be rinsed and re-rinsed after the dying, plus the fact that water splashes, plus the fact that I would have to store said cauldron somewhere when I'm not using it. . .
I dismissed that idea and chose to do the deed in my washer.
(I've done this several times before, and I can tell you, it works great!)
So, here is my step-by-step, tried-and-true method.
First of all, fill my kettle with as much water as it will hold and turn it on so the water boils.

After about a minute of letting the water boil, I started my washer. I put it on "small" load size and "hot/cold" for water temperature. While the water was filling up, I added the cup of salt, the teaspoon of dish detergent, and the bottle of dye. I actually rinsed out the bottle of dye and dumped it into the rest of the water. I did that a couple of times until the water came out of the bottle clear. (This is to utilize as much dye as possible, and also reduces drip potential when walking it to the trash can.)
I took a long pole and swished the mixture around until the salt was dissolved and all the ingredients were well incorporated. At that point, I turned the water off and added the trench coat. I didn't let the water fill up more than necessary, because too much water dilutes the color.
[It helps to spread the garment out long-ways and drop it down in the washer in a circle (versus balling it up and throwing it in). This helps the dye adhere more evenly to the garment.]
Once the water in my kettle started boiling, I poured it into my washer. This hot water made the rest of the water just that little bit hotter to really bring out the color. (I've tried using just the hot water in the washer itself, and it's not hot enough to create saturated color.) Then, I took my pole and started pushing the garment down under the water. You can see in the picture below that there were air pockets in the clothing that made it pop up above the water. If you walk away and don't push them down, those pockets will not get dyed consistently with the rest of the garment, so stirring and pushing is really really necessary. This is a 30 minute labor of love. (I've learned this the hard way.)

So. . .30 minutes is a long time to stir and push, and I hate wasted time, so I decided to walk away for a second and put on a face mask. These paper masks take 20 minutes to work, and I'd been working for ten minutes on the coat already, so. . .voila!

So, with the mask on, I came back to my washer and stirred and pushed some more.
Another tip: maybe once or twice during this stirring step, take your pole and pull the garment out of the water and then push it back down the other way, if you can. This just helps the dye get into any hidden folds that were created when the clothing was first put into the water.

Okay, so after the 30 minutes of stirring and pushing, I turned my washer back on. I used the remaining water to rinse my pole off so I wouldn't have pink droplets all over my wash room.

While the washer worked I dried my pole by resting it on an old towel.

This is the coat after the dye bath.

Okay, but I wasn't done. The directions say after that first wash, the item needs to be washed again, in warm water this time, with a mild detergent. This is for two reasons: (1) to set the color so it won't bleed onto other clothing the next time you wash it and (2) to help clean your washer of residual dye.
I didn't have mild detergent, but I did have some Oxi booster which is good for bringing color out in clothing, so I used a tiny bit of that.

This is how much I added.

I also sprinkled a little more salt into the wash since salt helps lock color into organic threads.

Then, I added my coat again.

Okay, so after the washer had run its course, my garment was nicely dyed; however, the inside of my washer was still a little messy. You can see pink droplets all over my washer lid here.

Enter: bleach and one more wash cycle.

So, I ran one last small load with hot water, and I slowly poured bleach over the stains on the lid. This bleach ran into the washer. If you do this, you can run this as an empty load, if you want. . .but I HATE wasting things, so I took this opportunity to add a shower curtain to the bleach water. Why? Because this is the best and easiest way I've discovered to wash a dirty shower curtain. Why spend hours scrubbing off the soap scum, calcium deposits, and whatever else when you could just throw it into a washer with bleach and be done with it!? I've done this method since college and it works like a charm!


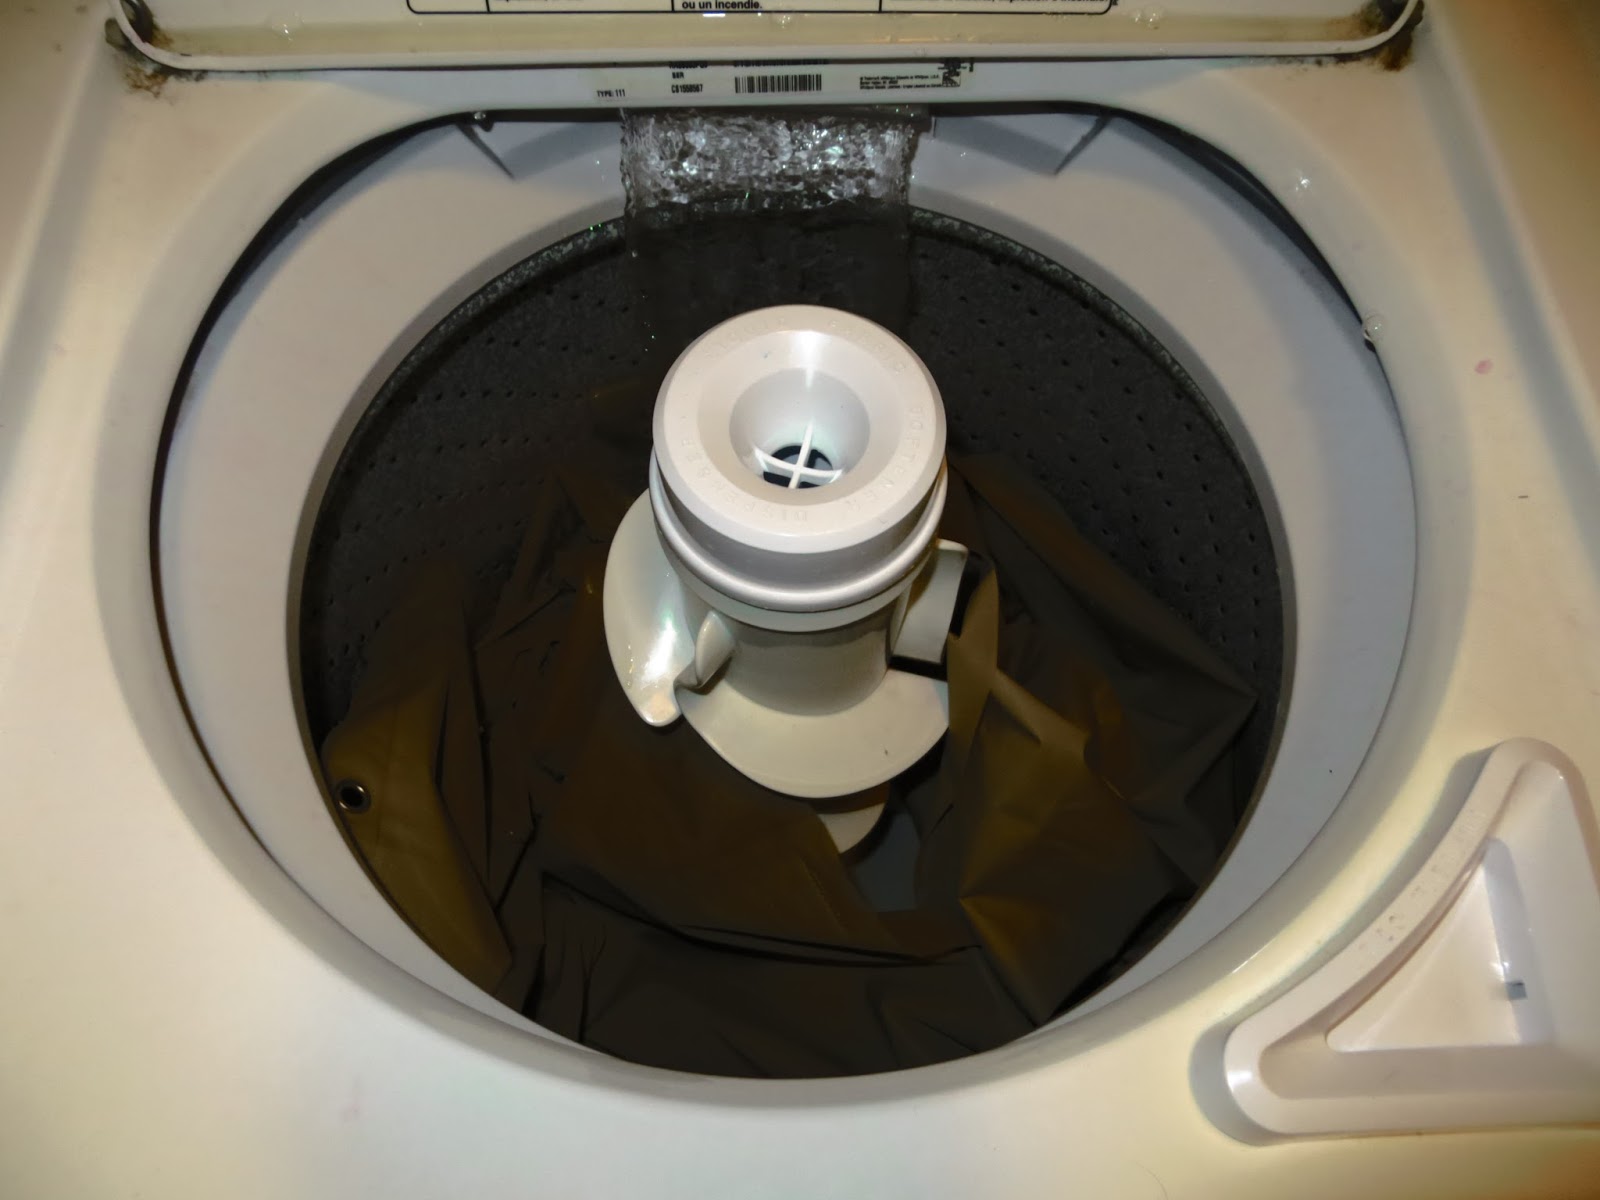
After the curtain cycle, you will notice that my washer is squeaky clean and I barely had to do anything to get it there! Plus, I have a super clean shower curtain to boot!

Oh! Before I forget, here is the finished trench coat!


And here is the "Before". . .

And here is the "After"!
The End!


